分享photoshop制作光碟的基础操作。

亲们或许不知道photoshop制作光碟的基础操作,那么接下来就讲解photoshop制作光碟的操作方法哦,希望能够帮助到大家呢。 photoshop制作光碟的基...
亲们或许不知道photoshop制作光碟的基础操作,那么接下来就讲解photoshop制作光碟的操作方法哦,希望能够帮助到大家呢。
photoshop制作光碟的基础操作
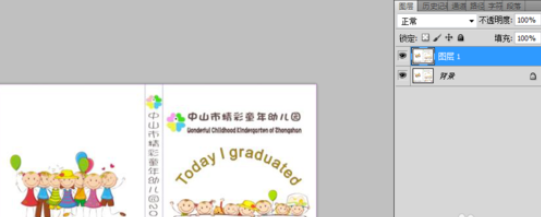
打开图片,按住快捷键crrl+j复制图层。
调出标尺,绘制正圆,右键-剪贴图层,填充颜色。
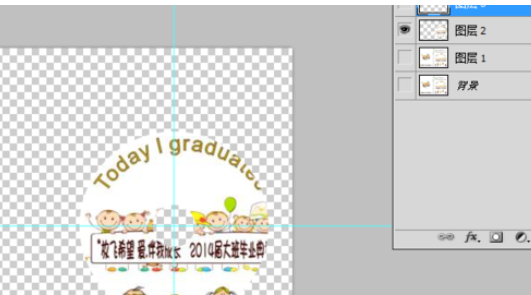
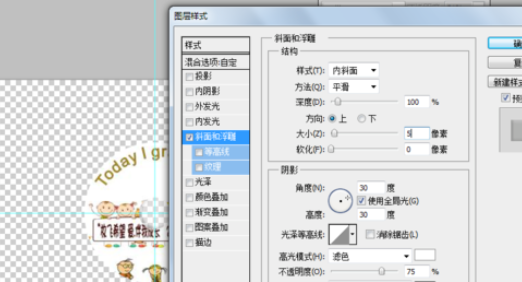
然后对图层进行斜面和浮雕效果。
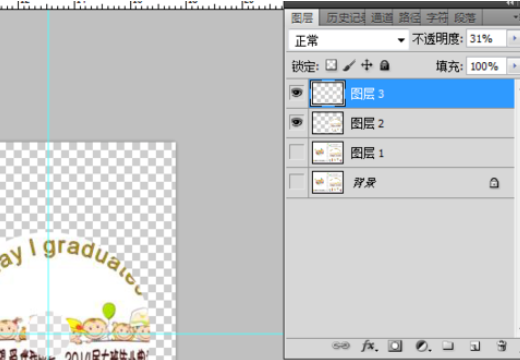
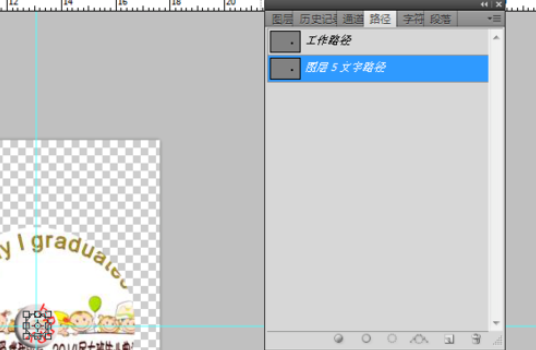
然后刚才剪贴图层的图层不删除,复制一层,缩小尺寸,按住ctrl键,创建文字路径。
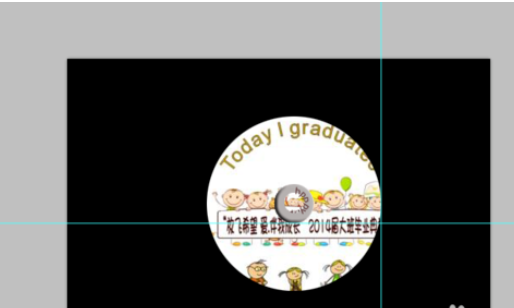
最后看下光盘效果。
上面就是打字教程网小编为大家带来的photoshop制作光碟的基础操作,一起来学习学习吧。相信是可以帮助到一些新用户的。
本文由cwhello于2024-10-11发表在打字教程,如有疑问,请联系我们。
本文链接:https://www.dzxmzl.com/6412.html
本文链接:https://www.dzxmzl.com/6412.html