今天分享photoshop制作竹身的操作过程。


photoshop这款软件是非常不错的,使用该软件可以制作出不少好看的图案。今天打字教程网小编就带来了关于photoshop制作竹身的操作过程,一起来看看吧! p...
photoshop这款软件是非常不错的,使用该软件可以制作出不少好看的图案。今天打字教程网小编就带来了关于photoshop制作竹身的操作过程,一起来看看吧!
photoshop制作竹身的操作过程
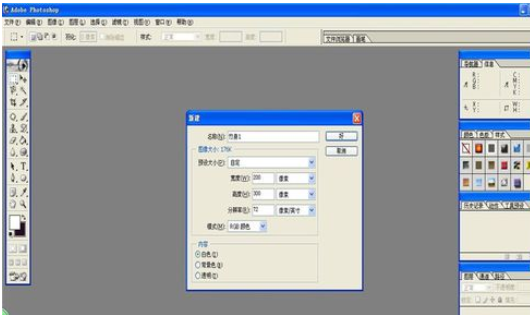
新建一个空白的图纸,参数如图所示。
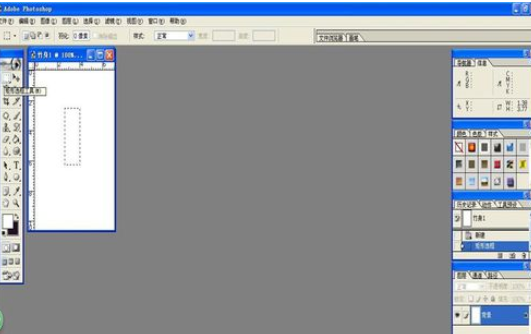
画出一个矩形选区。
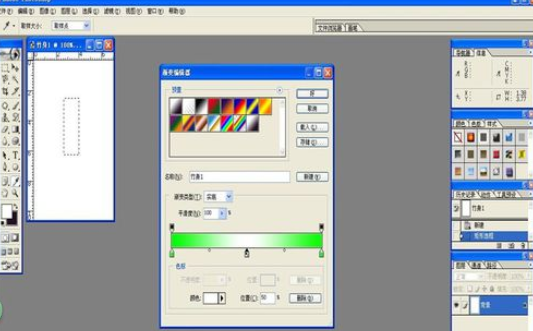
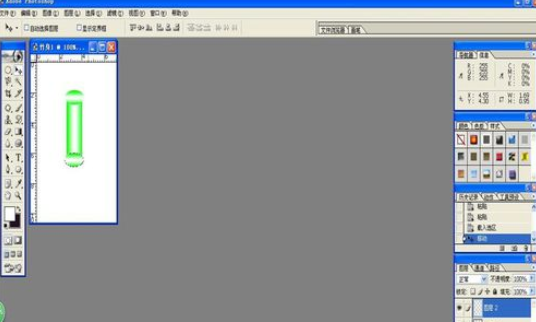
使用线性渐变,在渐变编辑器设置参数如图。
拖拽得到渐变效果。
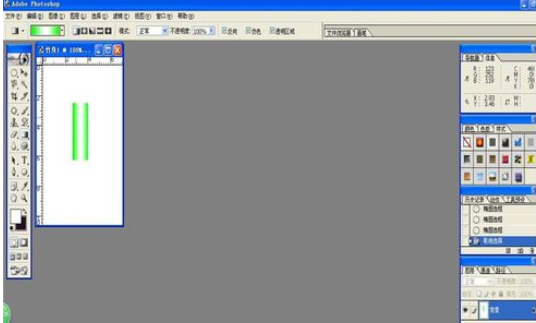
同理制作椭圆竹节。
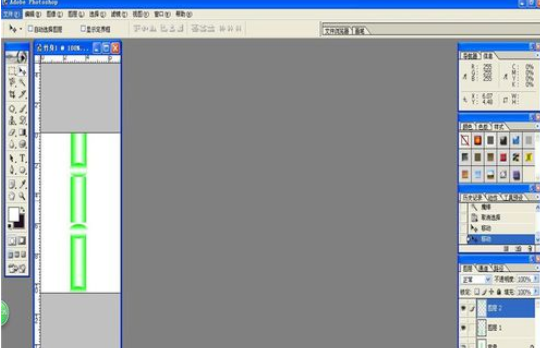
利用复制图像,得到竹身。
上文就讲解了photoshop制作竹身的操作过程,希望有需要的朋友都来学习哦。
本文由cwhello于2024-10-11发表在打字教程,如有疑问,请联系我们。
本文链接:https://www.dzxmzl.com/6262.html
本文链接:https://www.dzxmzl.com/6262.html