小编分享ppt做出画册的图文操作过程。

ppt这款应用有不少实用的功能。今天讲解的是ppt做出画册的图文操作过程,想学习的,就去下文看一看,了解了解,相信对大家一定会有所帮助的。 ppt做出画册的图文操...
ppt这款应用有不少实用的功能。今天讲解的是ppt做出画册的图文操作过程,想学习的,就去下文看一看,了解了解,相信对大家一定会有所帮助的。
ppt做出画册的图文操作过程
1、首先,我们新建一份PPT文件。

2、然后点开“美化大师”面板。
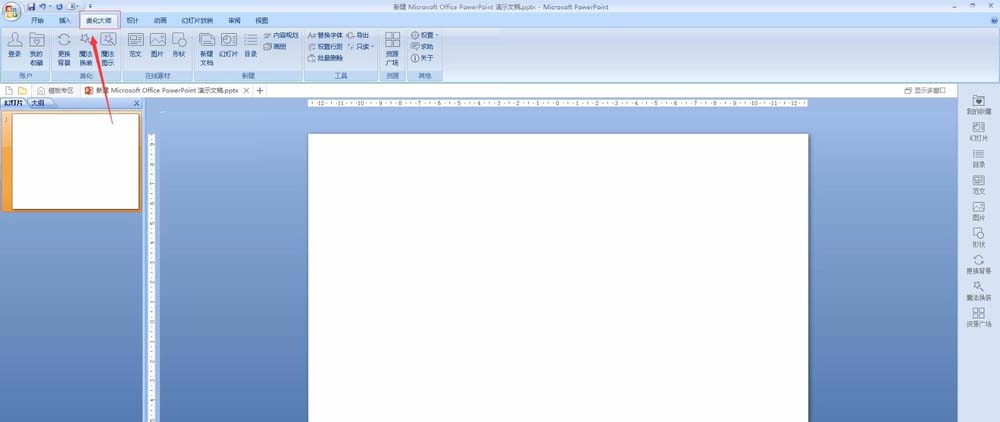
3、找到下图箭头所指的画册并点击。

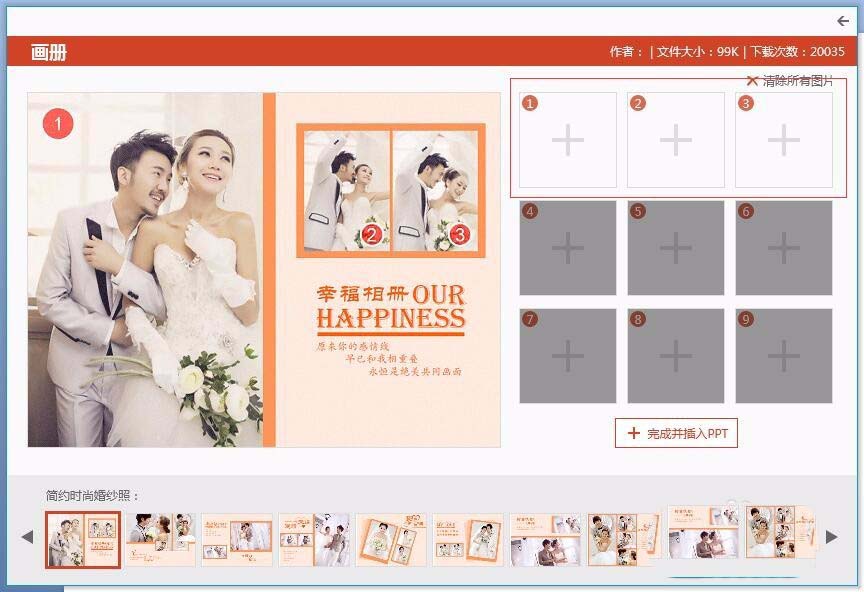
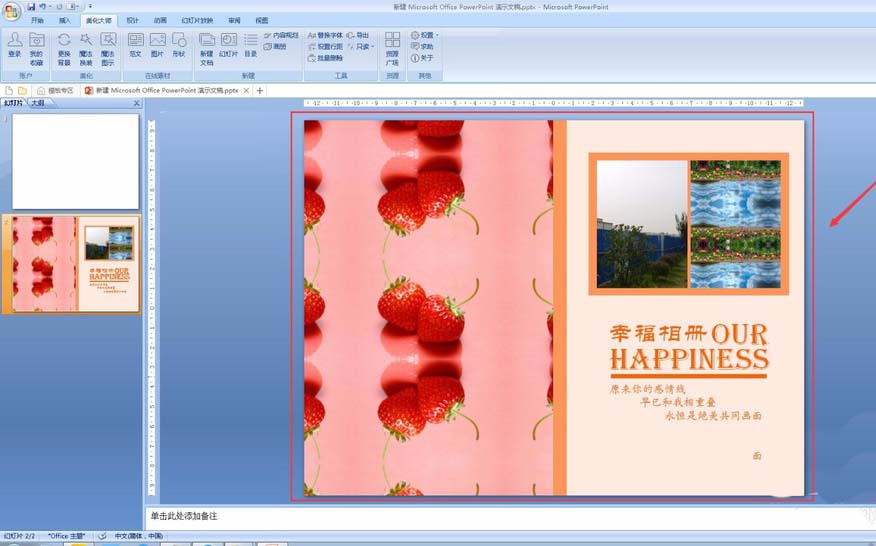
4、选择一个合适的画册模板。

5、点击下图红框处的1,2,3(与左侧照片123对应),添加照片。
6、添加完成点击下图箭头所指的“完成并插入PPT”。
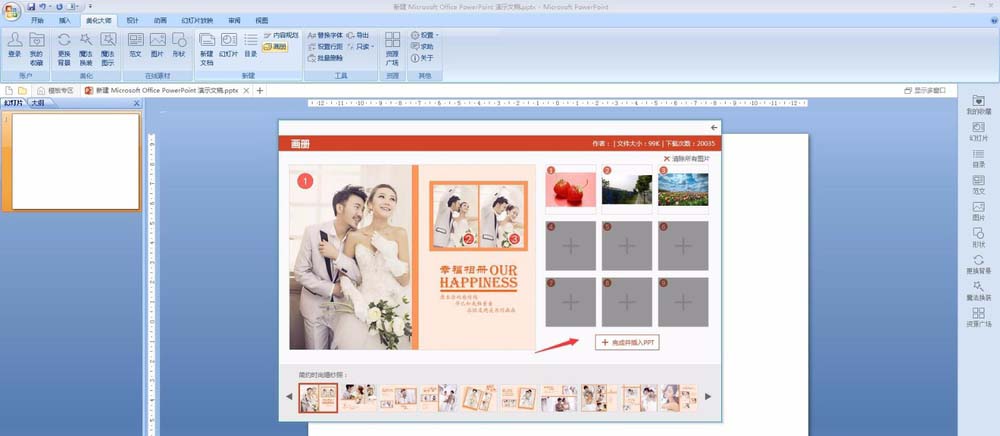
7、这样画册就制作好啦。
还不了解ppt做出画册的图文操作过程的朋友们,不要错过打字教程网小编带来的这篇文章哦。
本文由cwhello于2024-10-11发表在打字教程,如有疑问,请联系我们。
本文链接:https://www.dzxmzl.com/6246.html
本文链接:https://www.dzxmzl.com/6246.html