我来分享photoshop做出糖果效果文字的图文操作。


大家知道photoshop做出糖果效果文字的相关操作吗?下文就带来了photoshop做出糖果效果文字的操作教程,一起来看看吧! photoshop做出糖果效果文...
大家知道photoshop做出糖果效果文字的相关操作吗?下文就带来了photoshop做出糖果效果文字的操作教程,一起来看看吧!
photoshop做出糖果效果文字的图文操作
先建一个画布800x800,背景填充白色。利用文字工具输入(糖果)颜色任意

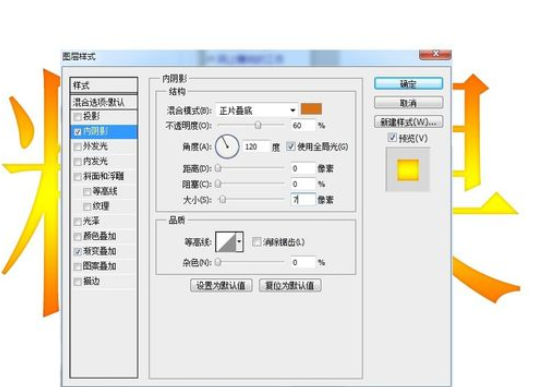
添加图层样式,内阴影,如下图设置

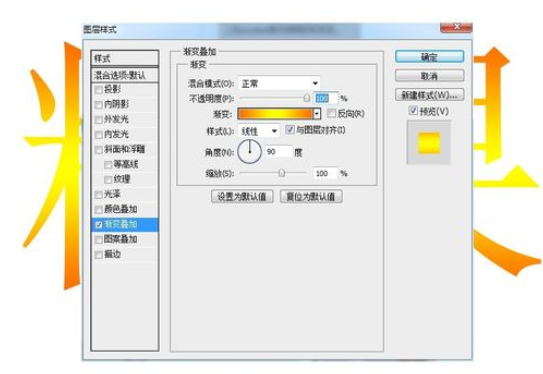
双击图层添加图层样式,渐变叠加,如下图设置

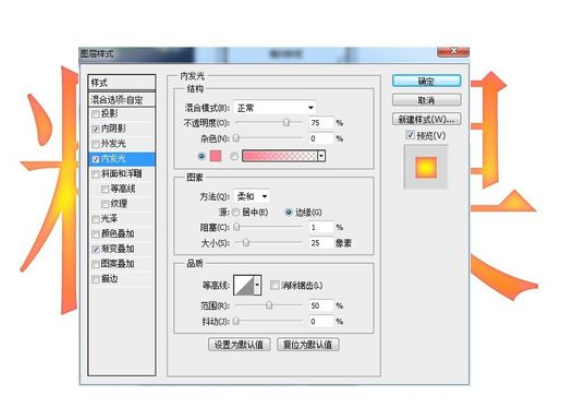
添加图层样式,内发光,如下图设置

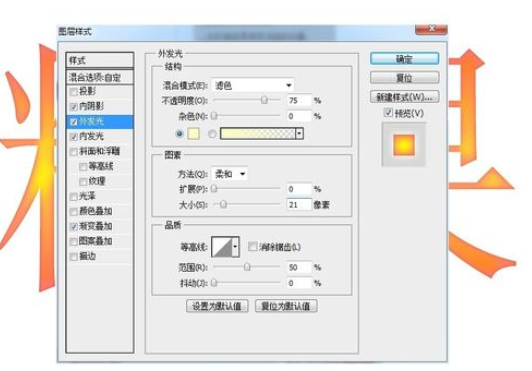
添加图层样式,外发光,如下图设置

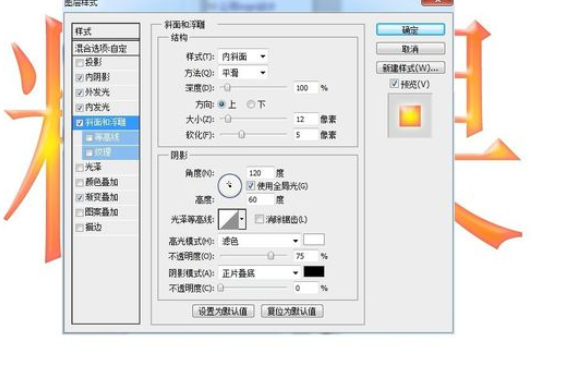
添加图层样式,斜面和浮雕,如下图设置

新建图层,按CTRL键的同时点击文字层得到文字选区,选择-修改-收缩大概8象素左右,填充白色,取消选区,模糊4象素左右,并降低不透明度到50%左右,最后效果如图所示,请您欣赏。

上面就是打字教程网小编为大家带来的photoshop做出糖果效果文字的图文操作流程,一起来学习学习吧。相信是可以帮助到一些新用户的。
本文由cwhello于2024-10-11发表在打字教程,如有疑问,请联系我们。
本文链接:https://www.dzxmzl.com/6199.html
本文链接:https://www.dzxmzl.com/6199.html