教你photoshop做出牛奶字的简单操作。

今天讲的是photoshop做出牛奶字的简单操作,感兴趣的同学们就一起学习下photoshop做出牛奶字的操作方法吧,相信对大家会有所帮助! photoshop做...
今天讲的是photoshop做出牛奶字的简单操作,感兴趣的同学们就一起学习下photoshop做出牛奶字的操作方法吧,相信对大家会有所帮助!
photoshop做出牛奶字的简单操作
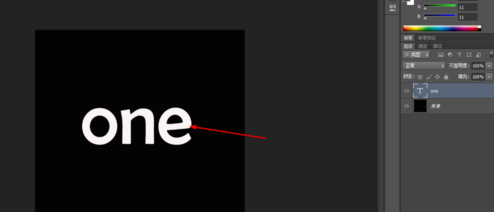
在ps软件,新建一个800*800的文档,背景色为黑色,写上黑色的字体,如图所示
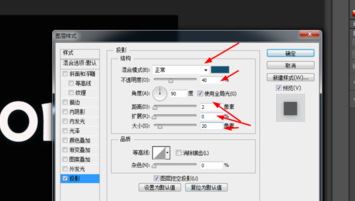
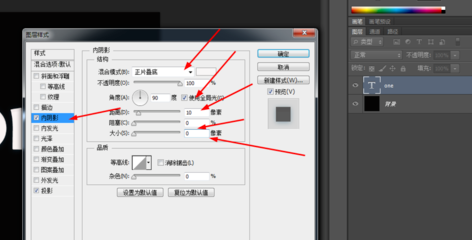
双击字体·的图层样式,调整一下投影和内阴影,如图所示
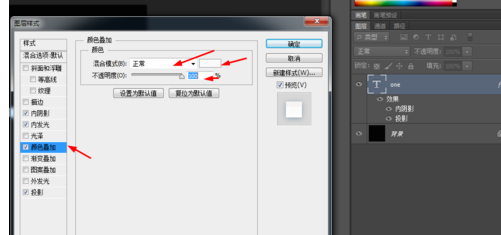
接着再调整一下内发光和颜色叠加,如图所示

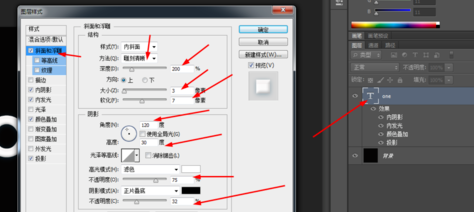
然后再调一下斜面浮雕,如图所示
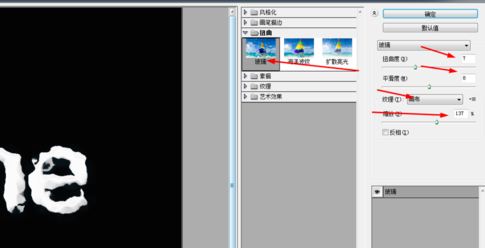
最后在滤镜库中——扭曲——玻璃,如图所示
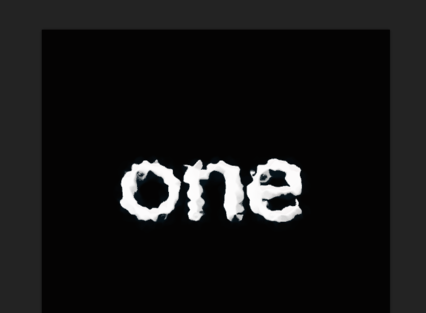
效果如下图所示
各位小伙伴们,看完上面的精彩内容,都清楚photoshop做出牛奶字的简单操作了吧!
本文由cwhello于2024-10-11发表在打字教程,如有疑问,请联系我们。
本文链接:https://www.dzxmzl.com/6109.html
本文链接:https://www.dzxmzl.com/6109.html