教你photoshop打造巧克力文字的图文操作。

有些人在使用photoshop时,还不了解打造巧克力文字的操作,下面打字教程网小编就讲解打造巧克力文字的操作方法吧。 photoshop打造巧克力文字的图文操作...
有些人在使用photoshop时,还不了解打造巧克力文字的操作,下面打字教程网小编就讲解打造巧克力文字的操作方法吧。
photoshop打造巧克力文字的图文操作
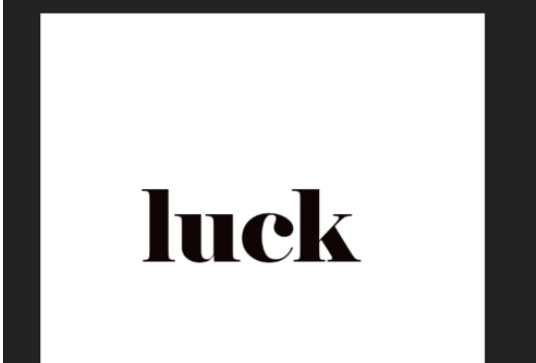
在ps软件中,新建一个800*800的文档,背景色填充白色,写上字体,如图所示
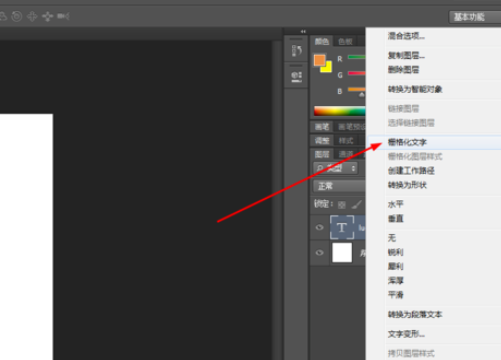
选中图层,点击右键栅格化文字,如图所示
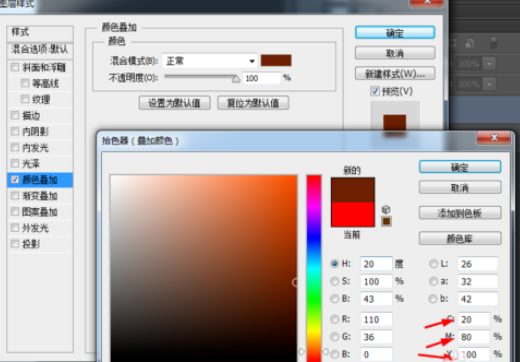
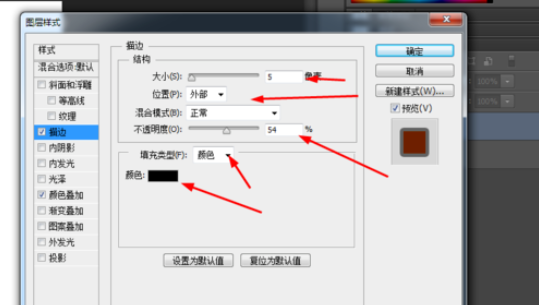
双击图层的图层样式,先调整一下颜色叠加,描边,如图所示
接着调整一下斜面浮雕,如图所示

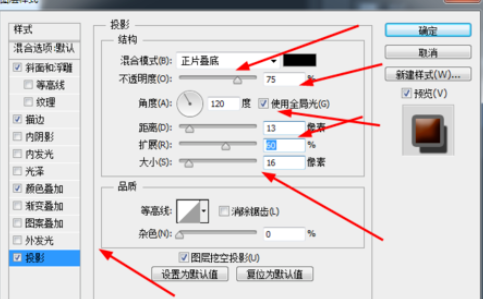
最后调整一下投影,如图所示
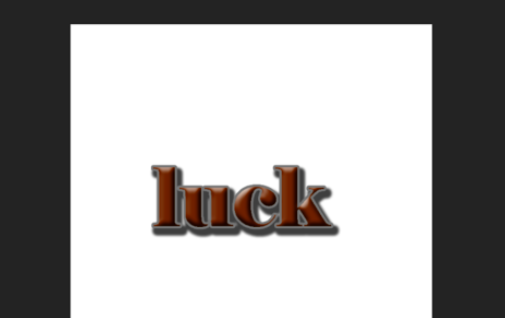
效果如图所示
上文就讲解了photoshop打造巧克力文字的图文操作过程,希望有需要的朋友都来学习哦。
本文由cwhello于2024-10-11发表在打字教程,如有疑问,请联系我们。
本文链接:https://www.dzxmzl.com/6000.html
本文链接:https://www.dzxmzl.com/6000.html