分享ai制作花瓣图案的图文操作过程。


ai这款软件是非常不错的,而本节就介绍了ai制作花瓣图案的操作,还不了解的朋友就跟着打字教程网小编学习一下吧,希望对你们有所帮助。 ai制作花瓣图案的图文操作过程...
ai这款软件是非常不错的,而本节就介绍了ai制作花瓣图案的操作,还不了解的朋友就跟着打字教程网小编学习一下吧,希望对你们有所帮助。
ai制作花瓣图案的图文操作过程
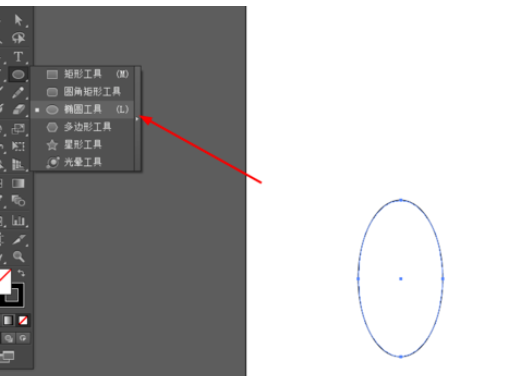
在Ai软件中,新建一个800*800的文档,选择椭圆工具,先画一个椭圆的图形,,如图所示
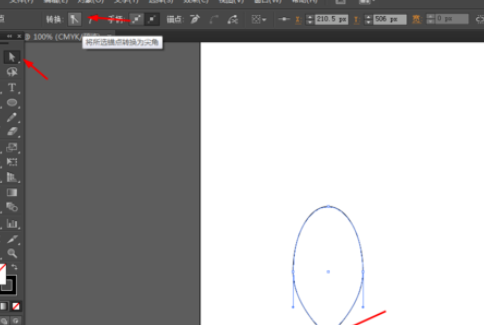
然后选择直接选择工具,点击椭圆的锚点为尖角,如图所示
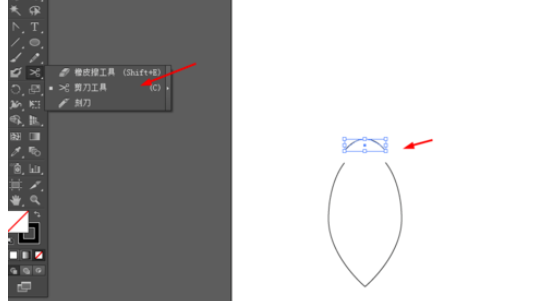
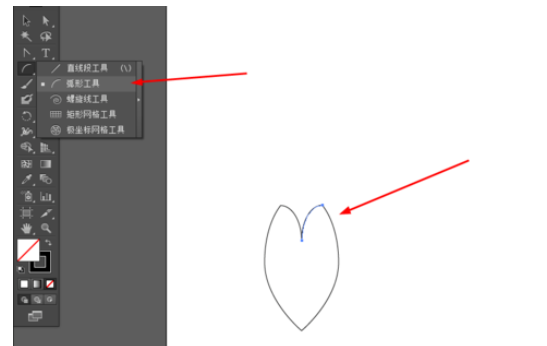
选择剪刀工具,把椭圆上面剪掉,并选择弧形工具,画两条弧线,如图所示
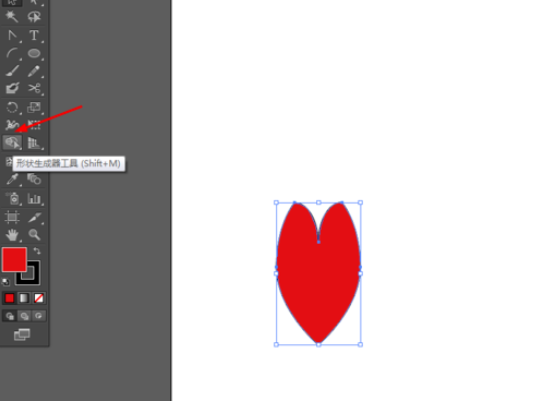
接着选择图形,点击形状生成器工具,填充颜色,如图所示
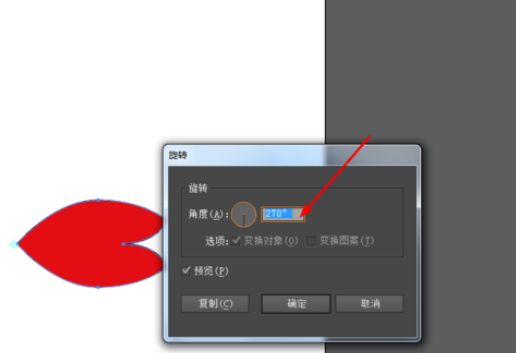
点击图形,按R键,再按alt移动一下锚点的位置,复制3个出来,再按ctrl+d,如图所示
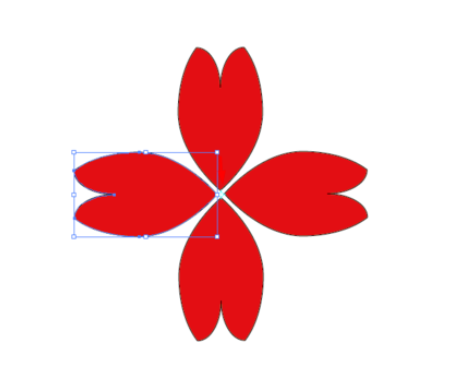
效果如下图所示
上文就讲解了ai制作花瓣图案的图文操作过程,希望有需要的朋友都来学习哦。
本文由cwhello于2024-10-11发表在打字教程,如有疑问,请联系我们。
本文链接:https://www.dzxmzl.com/5914.html
本文链接:https://www.dzxmzl.com/5914.html