关于photoshop制作标牌的详细操作。


今天打字教程网小编讲解了photoshop制作标牌的详细操作,下文就是photoshop制作标牌的操作教程,一起来学习吧。 photoshop制作标牌的详细操作...
今天打字教程网小编讲解了photoshop制作标牌的详细操作,下文就是photoshop制作标牌的操作教程,一起来学习吧。
photoshop制作标牌的详细操作
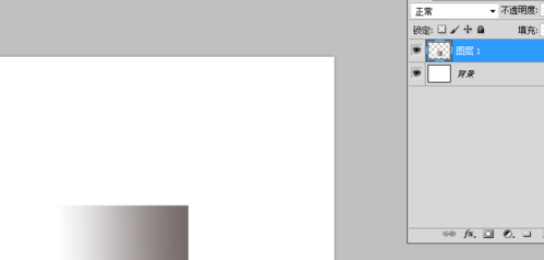
新建一个画布,新建一个图层,绘制矩形选框,渐变填充。
左侧再绘制一个矩形,填充加深渐变。
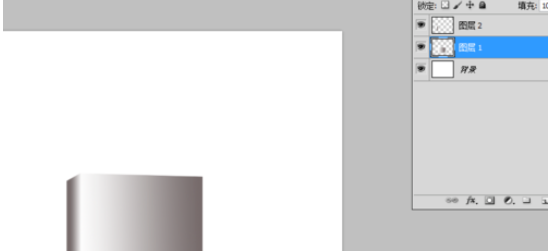
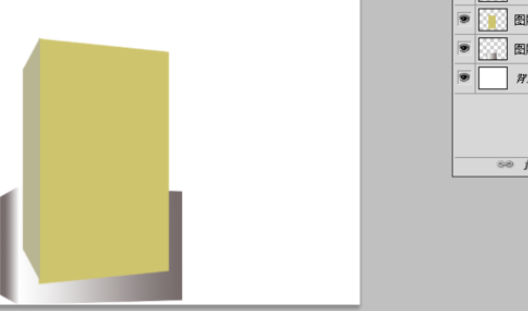
再新建一个图层2,跟上述方法一样,填充不同颜色。把上面一节填充不同颜色。

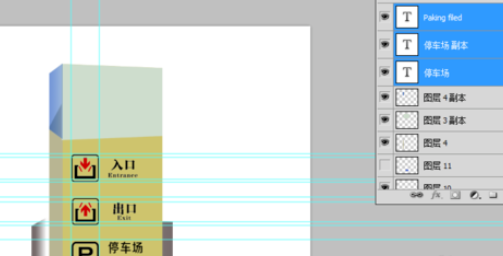
导入指示牌图片,模式更改为变暗,调整到合适的位置。
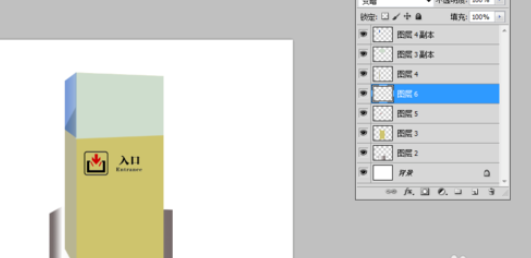
所有标牌导入成功后,指示牌加入企业图片,放置在上方,模式也是变暗。
加上企业logo即可
还不会photoshop制作标牌的详细操作的朋友们,不要错过打字教程网小编带来的这篇文章哦。
本文由cwhello于2024-10-10发表在打字教程,如有疑问,请联系我们。
本文链接:https://www.dzxmzl.com/5792.html
本文链接:https://www.dzxmzl.com/5792.html