我来分享Ae制作烟雾效果的操作流程。

想知道Ae制作烟雾效果的操作吗?下面就是打字教程网小编整理的Ae制作烟雾效果的操作教程,赶紧来看看吧,希望能帮助到大家哦! Ae制作烟雾效果的操作流程...
想知道Ae制作烟雾效果的操作吗?下面就是打字教程网小编整理的Ae制作烟雾效果的操作教程,赶紧来看看吧,希望能帮助到大家哦!
Ae制作烟雾效果的操作流程
打开AE软件,新建合成,在合成中新建固态成。
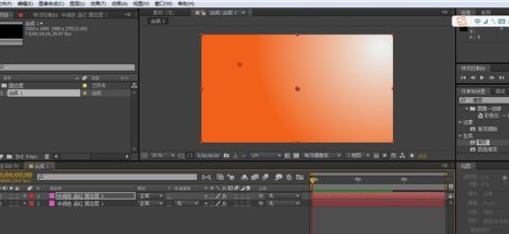
给固态成设置想要的颜色效果,我添加的渐变
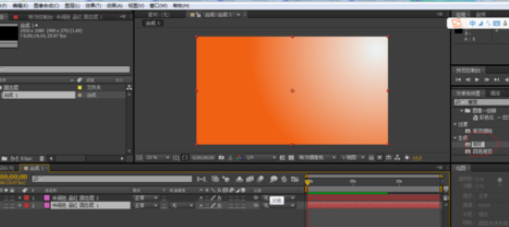
在新建一个图层,制作粒子制作烟雾。
选中烟雾图层,打开粒子效果
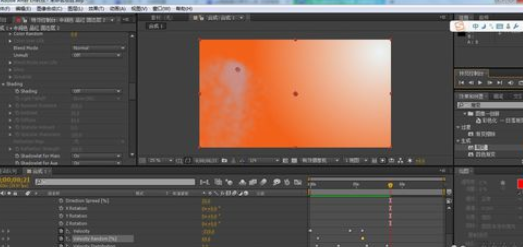
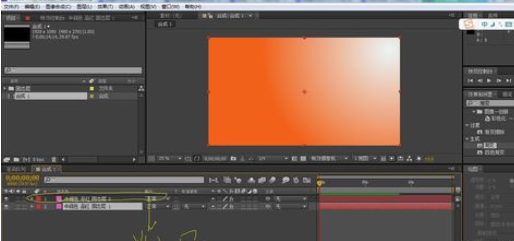
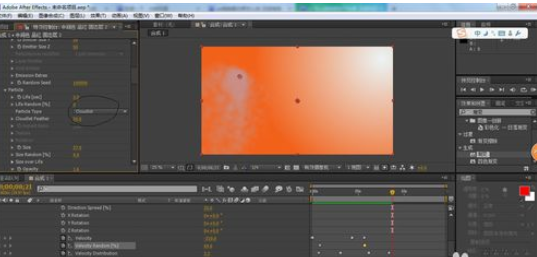
选择和开始设置粒子参数,注意粒子里面选择cloudlet.
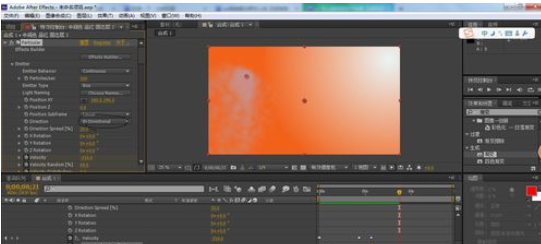
f方向选择Bi-方向。重力设置为90向下,根据自己需要。
各位小伙伴们,看完上面的精彩内容,都清楚Ae制作烟雾效果的操作流程了吧!
本文由cwhello于2024-10-10发表在打字教程,如有疑问,请联系我们。
本文链接:https://www.dzxmzl.com/5786.html
本文链接:https://www.dzxmzl.com/5786.html