关于photoshop打造流光文字的基础操作。


有的用户还不会photoshop打造流光文字的操作,下文就分享photoshop打造流光文字的操作教程,希望对你们有所帮助哦。 photoshop打造流光文字的基...
有的用户还不会photoshop打造流光文字的操作,下文就分享photoshop打造流光文字的操作教程,希望对你们有所帮助哦。
photoshop打造流光文字的基础操作
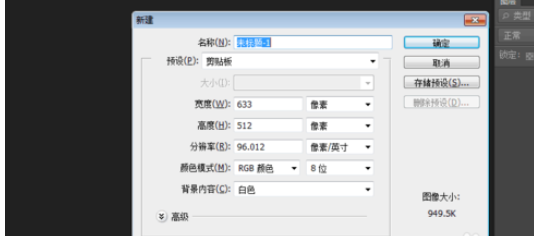
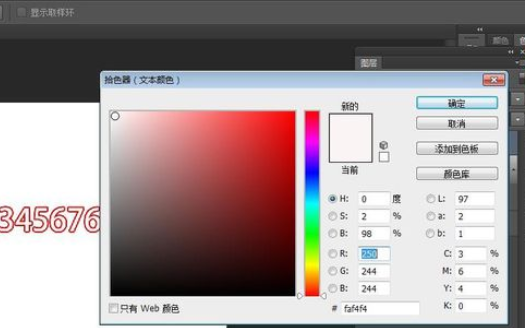
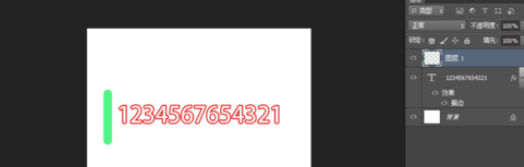
打开ps,新建一个文件,在里面输入自己想要的文字,在这里我输入一串数字,在这里对文字进行了描边处理
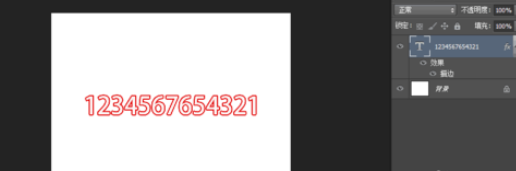
自如输进去后在建一个图层

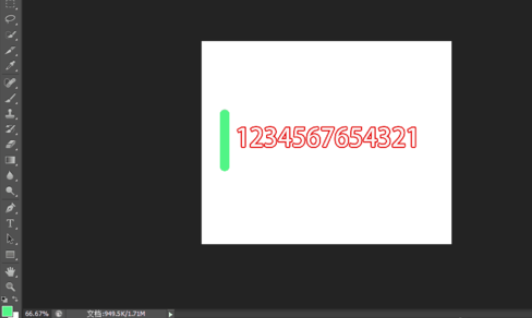
然后在这个图册上面选择画笔,画一条线(按住shift,可以画),然后再复制本图层
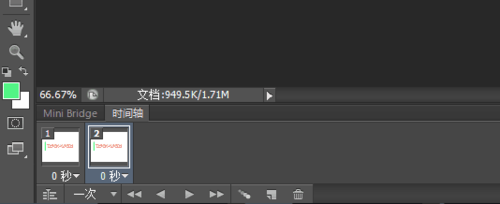
创建时间轴,把图片闪动时间设置为0秒

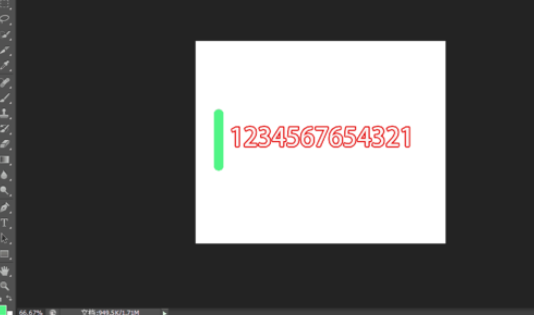
在时间轴上面再复制一下,第二上面,我们把画好的直线移动到右边
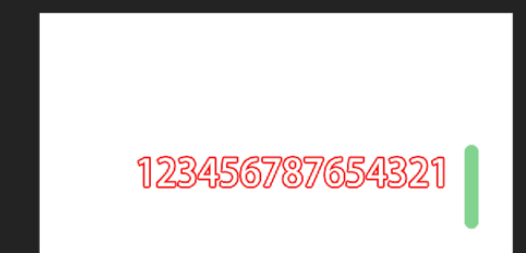
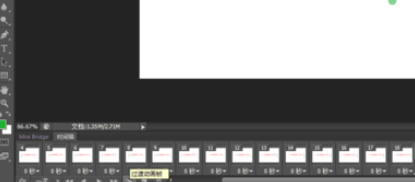
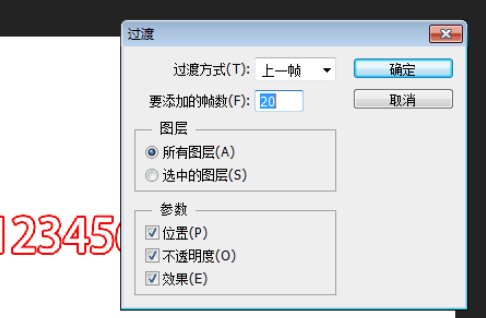
然后选择第二帧,选择过渡动画,这里选择了20帧。然后保存就可以了
以上这里为各位分享了photoshop打造流光文字的基础操作。有需要的朋友赶快来看看本篇文章吧。
本文由cwhello于2024-10-10发表在打字教程,如有疑问,请联系我们。
本文链接:https://www.dzxmzl.com/5785.html
本文链接:https://www.dzxmzl.com/5785.html