我来教你photoshop做出打散相框的操作过程。


亲们或许还不熟悉photoshop软件,也不知道做出打散相框的操作,今天打字教程网小编就讲解photoshop做出打散相框的操作方法哦,希望能够帮助到大家呢。 p...
亲们或许还不熟悉photoshop软件,也不知道做出打散相框的操作,今天打字教程网小编就讲解photoshop做出打散相框的操作方法哦,希望能够帮助到大家呢。
photoshop做出打散相框的操作过程
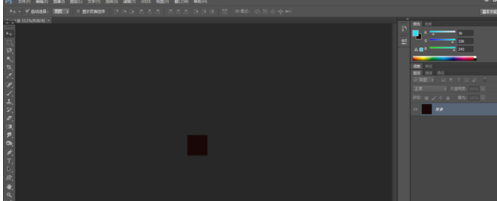
在ps软件中,新建一个20*20的文档,背景色填充黑色,
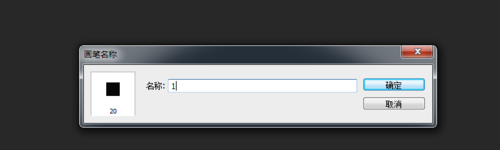
接着在菜单栏上编辑添加定义画笔预设,如图所示
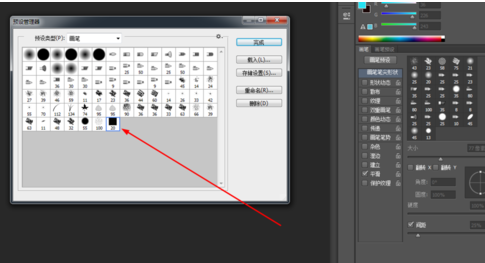
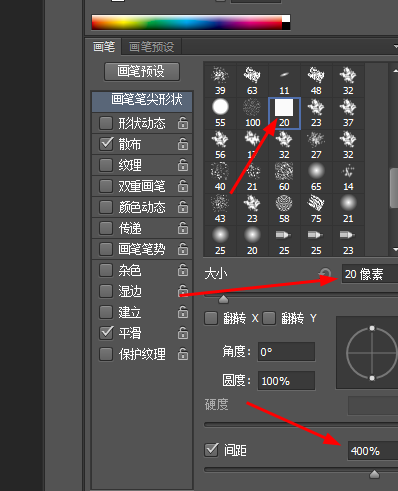
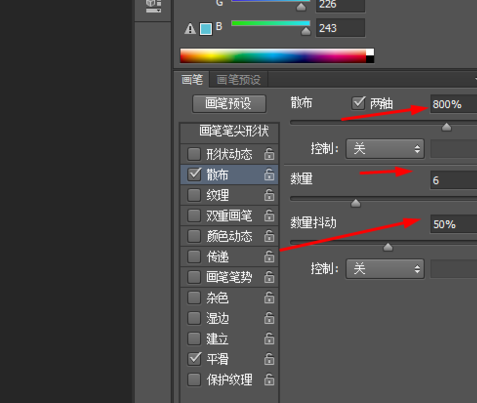
选择画笔工具,然后再按f5调一下画笔笔尖形状大小,如图所示
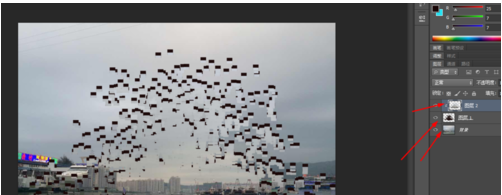
然后打开素材,前景色为黑色,再新建一个图层,点击画笔工具,在图层画几下,
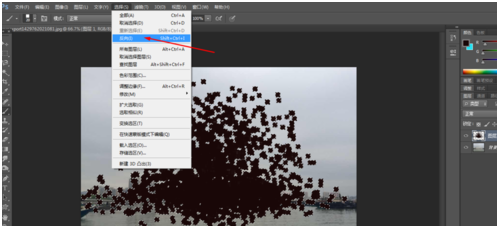
接着按ctrl点击图层1成选区,在菜单栏上选择反向,如图所示
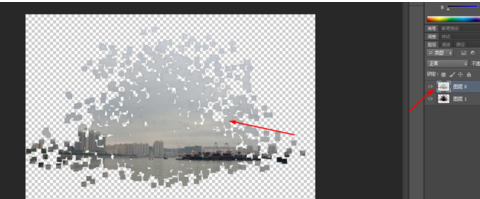
再双击背景层为图层移动到最上层,,按delete删除键,效果如图所示
最后再打开新的素材,然后把图层移动到新打开的素材
上文就讲解了photoshop做出打散相框的操作过程,希望有需要的朋友都来学习哦。
本文由cwhello于2024-10-10发表在打字教程,如有疑问,请联系我们。
本文链接:https://www.dzxmzl.com/5733.html
本文链接:https://www.dzxmzl.com/5733.html