关于photoshop打造数码光圈的操作流程。

刚接触photoshop的朋友可能不清楚打造数码光圈的操作,今天就讲解photoshop打造数码光圈的操作方法,相信大家通过学习,在以后的操作中一定会得心应手。...
刚接触photoshop的朋友可能不清楚打造数码光圈的操作,今天就讲解photoshop打造数码光圈的操作方法,相信大家通过学习,在以后的操作中一定会得心应手。
photoshop打造数码光圈的操作流程
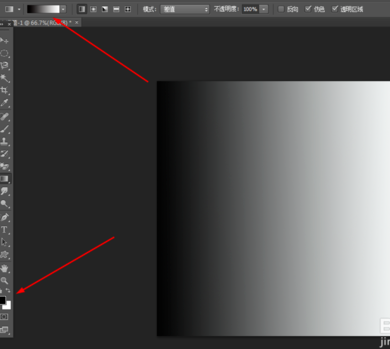
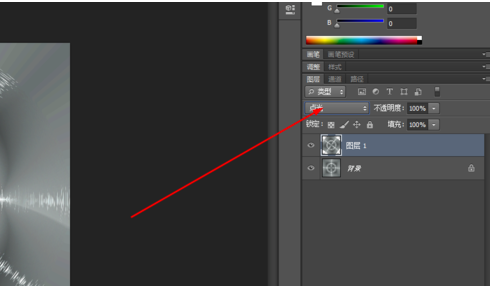
在ps软件中,新建一个800*800的文档,拉一个黑白的渐变,如图所示
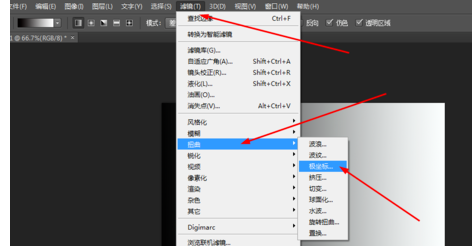
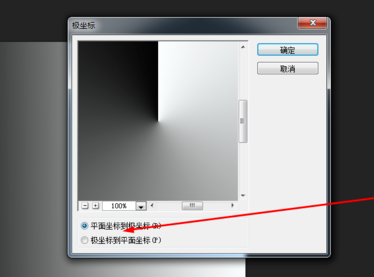
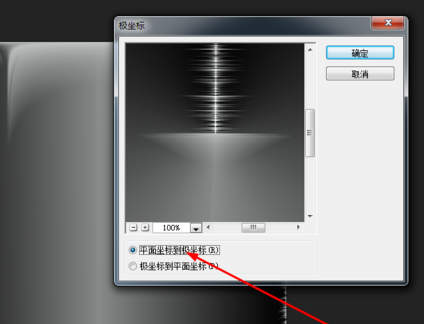
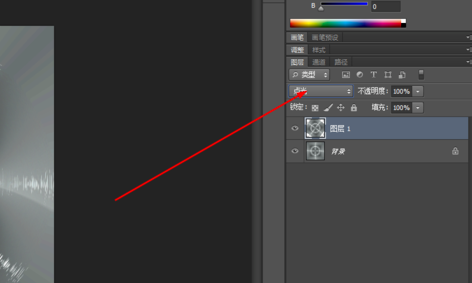
然后在滤镜中·添加极坐标,如图所示
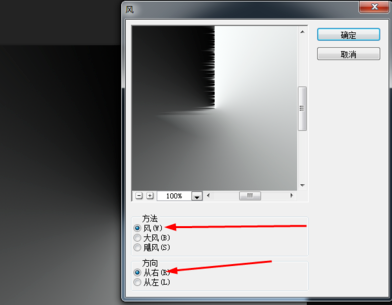
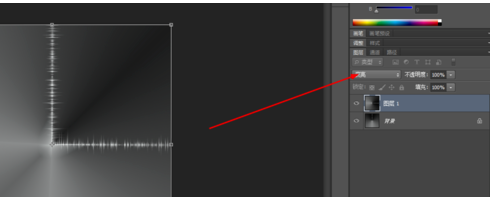
再到滤镜中添加风格化,按ctrl+f重复一次,如图所示
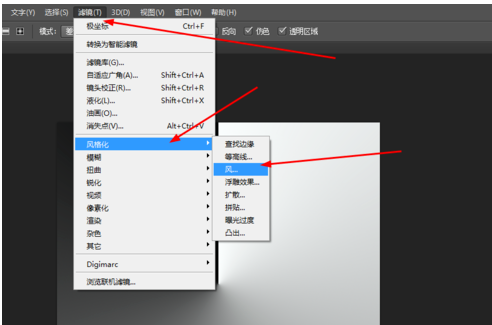
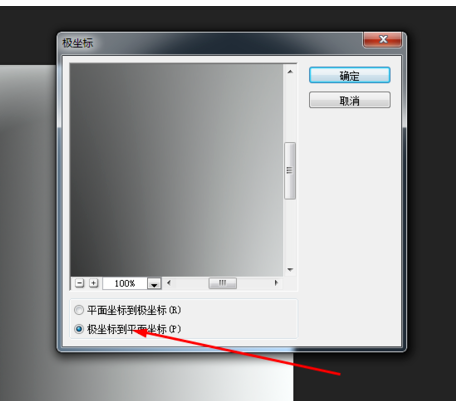
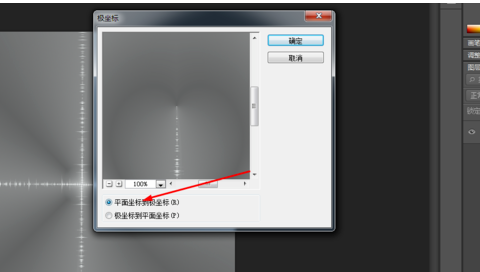
再一次到滤镜中添加极坐标,如图所示
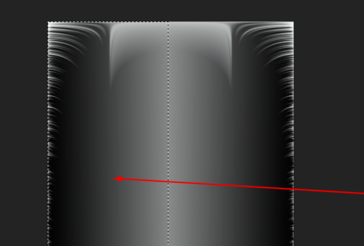
在原有的图层复制一个,按ctrl+t,水平翻转,再用矩形选区框选出左边,按删除键,合并所有的图层,如图所示
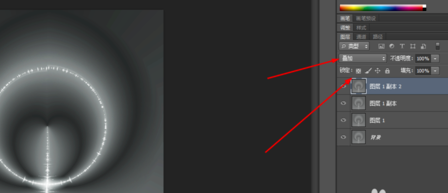
在滤镜中添加极坐标,按ctrl+j复制一个,接着按ctrl+t自由变换,按顺时针90度翻转,把图层的模式改为变亮,重复两次的复制和旋转,然后合并所有的图层,如图所示
再到滤镜中添加极坐标,复制多个的图层,把图层的模式改为叠加,再把所有图层合并,如图所示
然后按ctrl+j复制多几个,把图层的模式改为变亮,合并所有的图层,如图所示
原图层复制一个图层,按15度顺时针旋转,再把图层的模式改为点光,再一次合并。
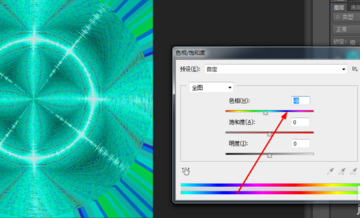
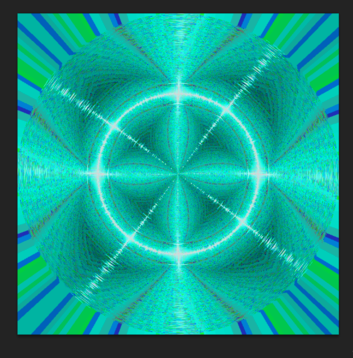
最后按ctrl+u,调一下色相饱和度,效果如图所示
各位小伙伴们,看完上面的精彩内容,都清楚photoshop打造数码光圈的操作流程了吧!
本文由cwhello于2024-10-10发表在打字教程,如有疑问,请联系我们。
本文链接:https://www.dzxmzl.com/5725.html
本文链接:https://www.dzxmzl.com/5725.html