我来分享photoshop制作水珠效果的图文操作。


photoshop大家熟悉吧,本文就介绍了photoshop制作水珠效果的图文操作,想要学习的朋友可以看一看下文哦,相信对大家会有所帮助的。 photoshop制...
photoshop大家熟悉吧,本文就介绍了photoshop制作水珠效果的图文操作,想要学习的朋友可以看一看下文哦,相信对大家会有所帮助的。
photoshop制作水珠效果的图文操作
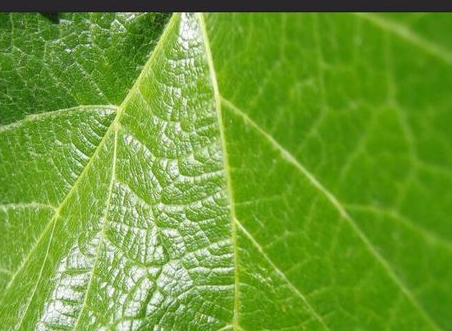
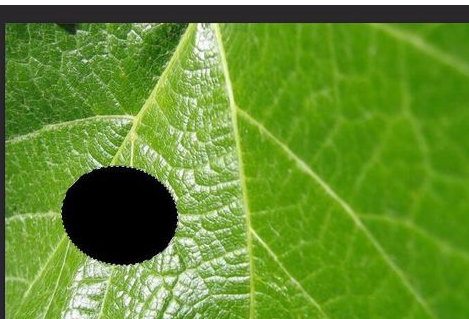
打开素材
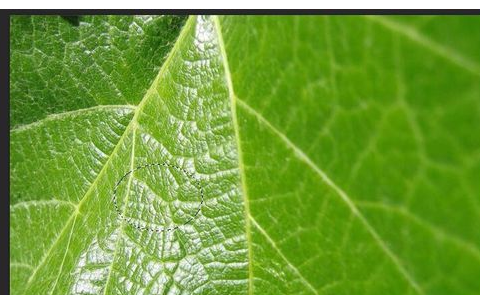
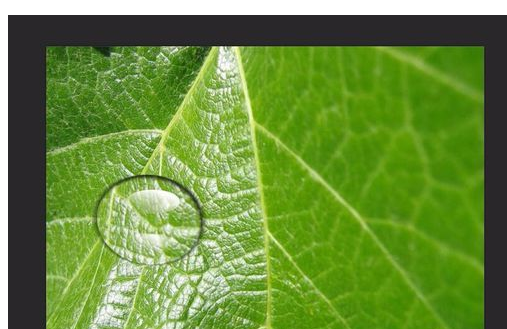
选择椭圆形选区ctrl+c ,ctrl+v复制粘贴
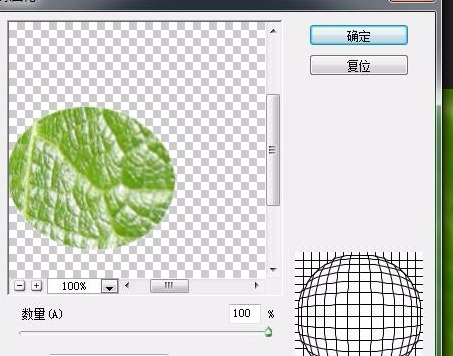
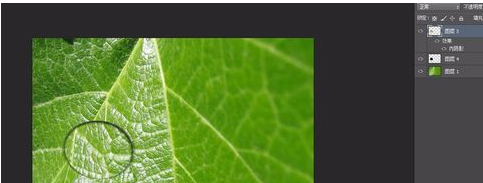
执行滤镜-扭曲-球面化
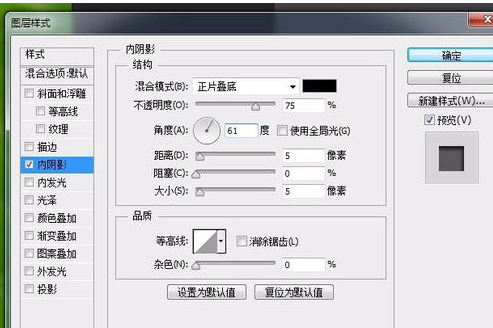
并添加图层样式-内阴影
隐藏图层新建图层创建阴影部分
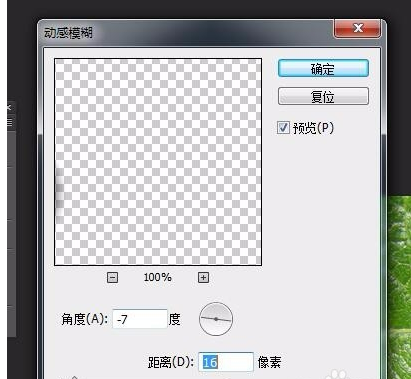
执行滤镜-模糊-动感模糊
取消隐藏
为水珠添加高光
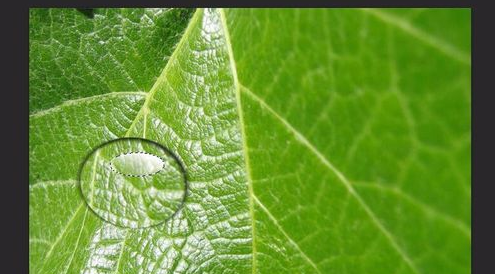
最终效果如图
上面就是打字教程网小编为大家带来的photoshop制作水珠效果的图文操作流程,一起来学习学习吧。相信是可以帮助到一些新用户的。
本文由cwhello于2024-10-10发表在打字教程,如有疑问,请联系我们。
本文链接:https://www.dzxmzl.com/5678.html
本文链接:https://www.dzxmzl.com/5678.html