小编分享photoshop制作木板的图文操作。


photoshop这款软件不少网友都熟悉的,而本教程就讲解了photoshop制作木板的图文操作,想要学习的朋友们可以跟着打字教程网小编一起去看一看下文,希望能够帮助...
photoshop这款软件不少网友都熟悉的,而本教程就讲解了photoshop制作木板的图文操作,想要学习的朋友们可以跟着打字教程网小编一起去看一看下文,希望能够帮助到大家。
photoshop制作木板的图文操作
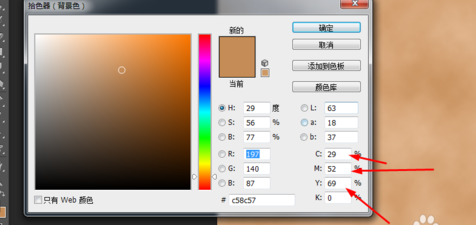
在ps软件中,新建一个800*800的文档,前景色为钱木材色,背景色为深的木材色,如图所示
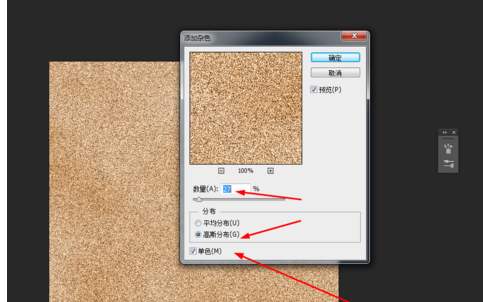
然后在滤镜中添加杂色,如图所示
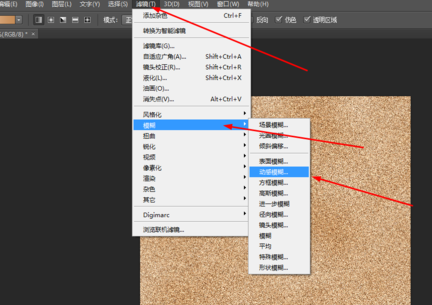
接下来在滤镜中添加动感模糊 如图所示
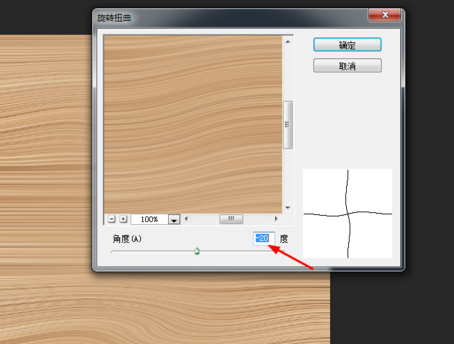
先用·矩形选区框选出来,在滤镜中添加旋转扭曲 如图所示
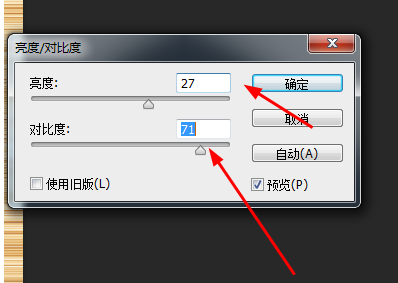
再把图像的亮度和对比度调一下 如图所示
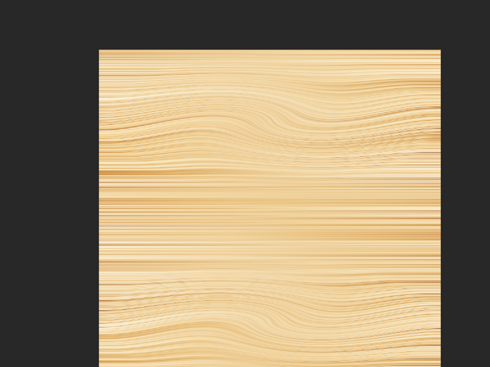
效果如图所示
上面就是打字教程网小编为大家带来的photoshop制作木板的图文操作流程,一起来学习学习吧。相信是可以帮助到一些新用户的。
本文由cwhello于2024-10-10发表在打字教程,如有疑问,请联系我们。
本文链接:https://www.dzxmzl.com/5633.html
本文链接:https://www.dzxmzl.com/5633.html