我来教你photoshop制作月亮的操作流程。

本文为各位讲解photoshop制作月亮的相关操作,有需要的就来学习photoshop制作月亮的操作方法吧,一起去看看吧,相信对大家一定会有所帮助的哦。 phot...
本文为各位讲解photoshop制作月亮的相关操作,有需要的就来学习photoshop制作月亮的操作方法吧,一起去看看吧,相信对大家一定会有所帮助的哦。
photoshop制作月亮的操作流程
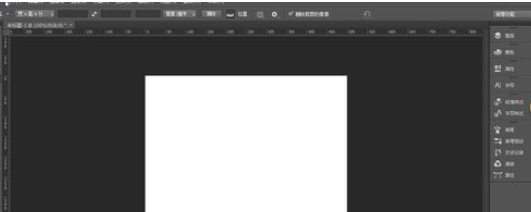
打开ps ,新建一个文档,大小自定 点击确定按钮
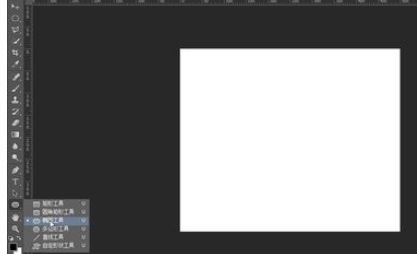
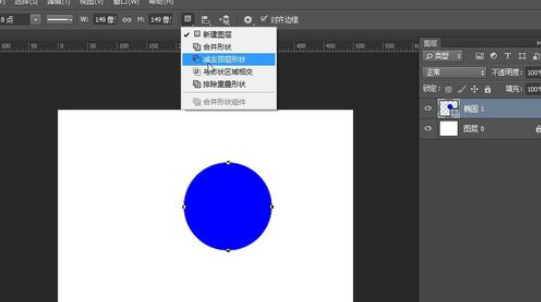
用椭圆工具在舞台中画一个圆
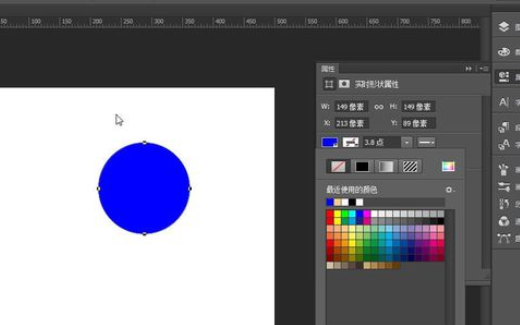
在属性中选择减去顶层形状,这时候鼠标是一个减号
用椭圆工具接着画圆,如下图
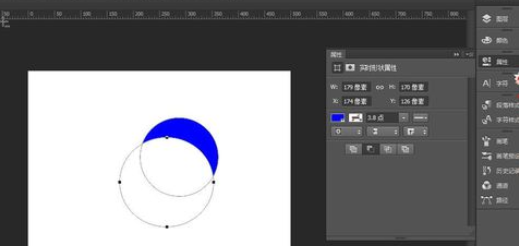
这时候月亮的效果就出来了

上文就讲解了photoshop制作月亮的操作流程,希望有需要的朋友都来学习哦。
本文由cwhello于2024-10-10发表在打字教程,如有疑问,请联系我们。
本文链接:https://www.dzxmzl.com/5600.html
本文链接:https://www.dzxmzl.com/5600.html