我来分享photoshop制作气球的操作流程。

熟悉photoshop软件是很简单的,但是各位知道制作气球的操作吗?今天打字教程网小编就分享photoshop制作气球的操作方法,一起来看看吧! photosho...
熟悉photoshop软件是很简单的,但是各位知道制作气球的操作吗?今天打字教程网小编就分享photoshop制作气球的操作方法,一起来看看吧!
photoshop制作气球的操作流程
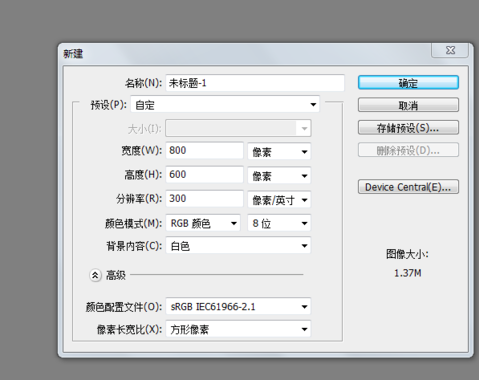
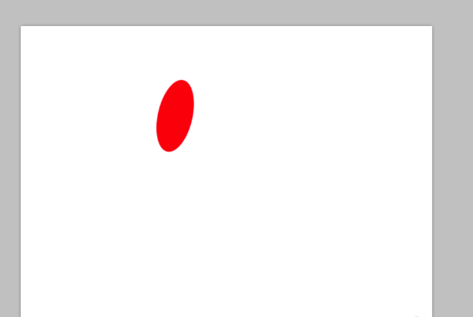
打开ps,新建一个800*600像素的画布。
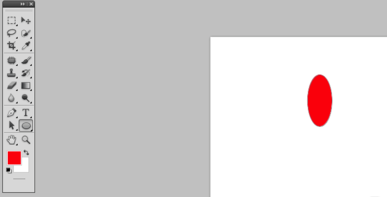
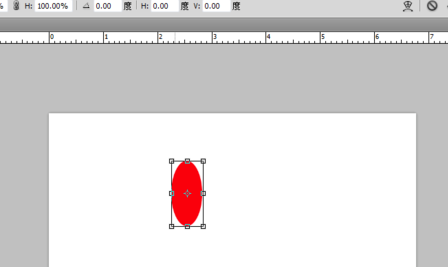
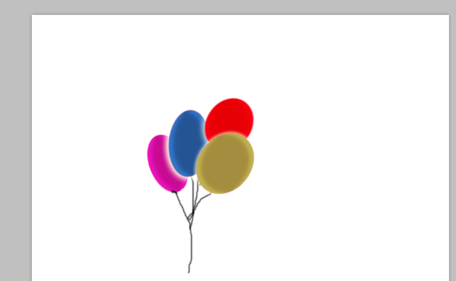
点击工具中“椭圆工具”,绘制一个椭圆,按住ctrl+T自由旋转一下。
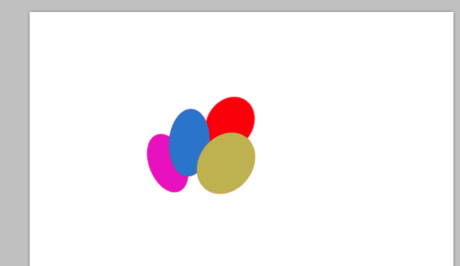
这时候旋转角度好了,多做一些气球,更改颜色和角度。
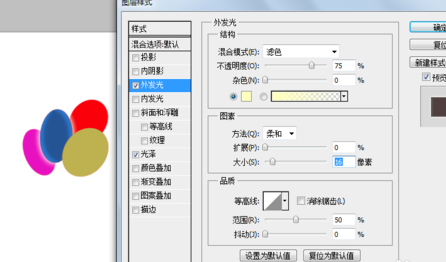
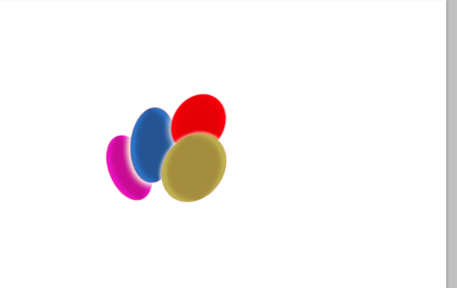
为气球设置样式,例如外放光等。
最后调整画笔大小,绘制气球绳子。
各位小伙伴们,看完上面的精彩内容,都清楚photoshop制作气球的操作流程了吧!
本文由cwhello于2024-10-10发表在打字教程,如有疑问,请联系我们。
本文链接:https://www.dzxmzl.com/5560.html
本文链接:https://www.dzxmzl.com/5560.html
上一篇:今天分享flash。