分享word旋转对话气泡方向的基础操作。

有的用户还不会word旋转对话气泡方向的基础操作,下文就分享word旋转对话气泡方向的操作教程,希望对你们有所帮助哦。 word旋转对话气泡方向的基础操作...
有的用户还不会word旋转对话气泡方向的基础操作,下文就分享word旋转对话气泡方向的操作教程,希望对你们有所帮助哦。
word旋转对话气泡方向的基础操作
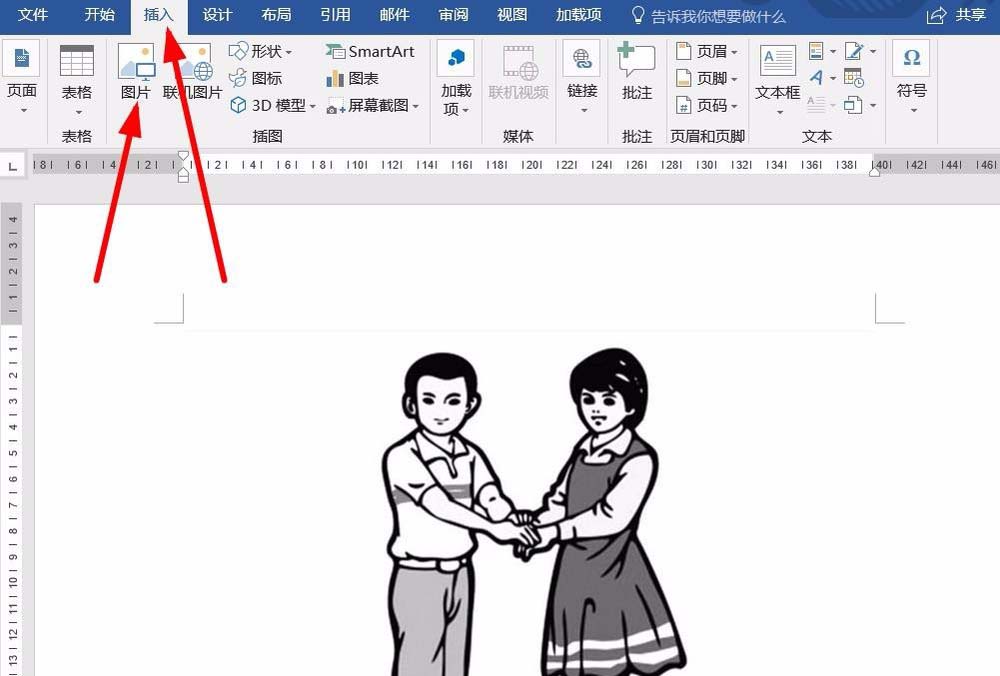
1、我们打开word,然后“插入”,选择“图片”,插入一张图片。
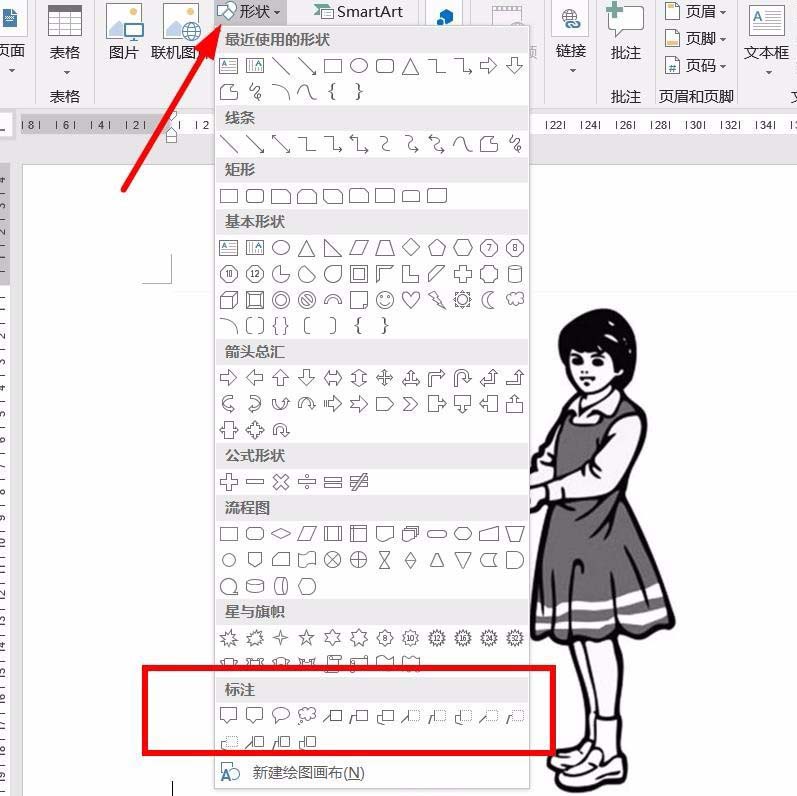
2、我们点击“插入”里面的“形状”,我们可以看到,最下面的对话气泡都是一个方向的。
3、我们先选择一个对话气泡式样,然后绘制。为了便于说明我们将气泡绘制在左侧,我们看到气泡是反的。
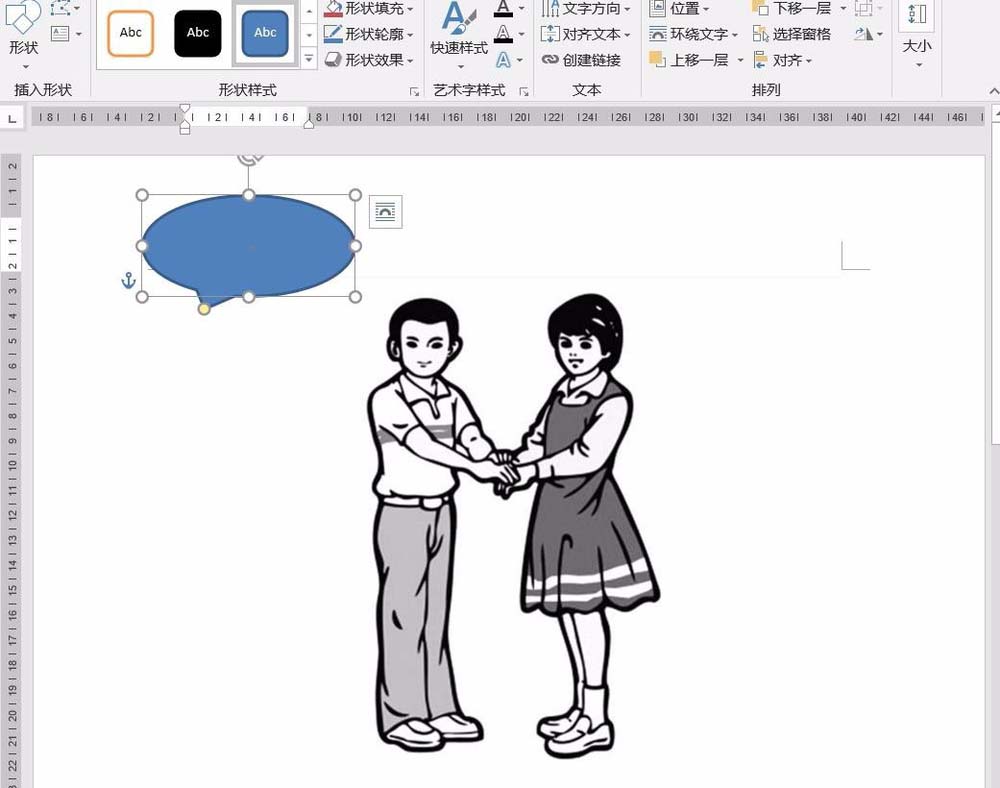
4、我们左键单击“格式”里面的“旋转”图标。在下拉菜单中,选择“水平翻转”。
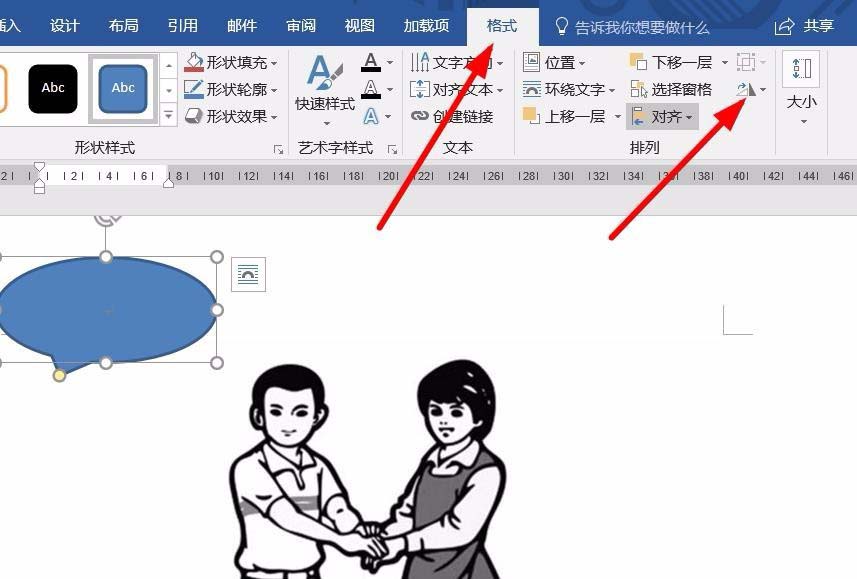
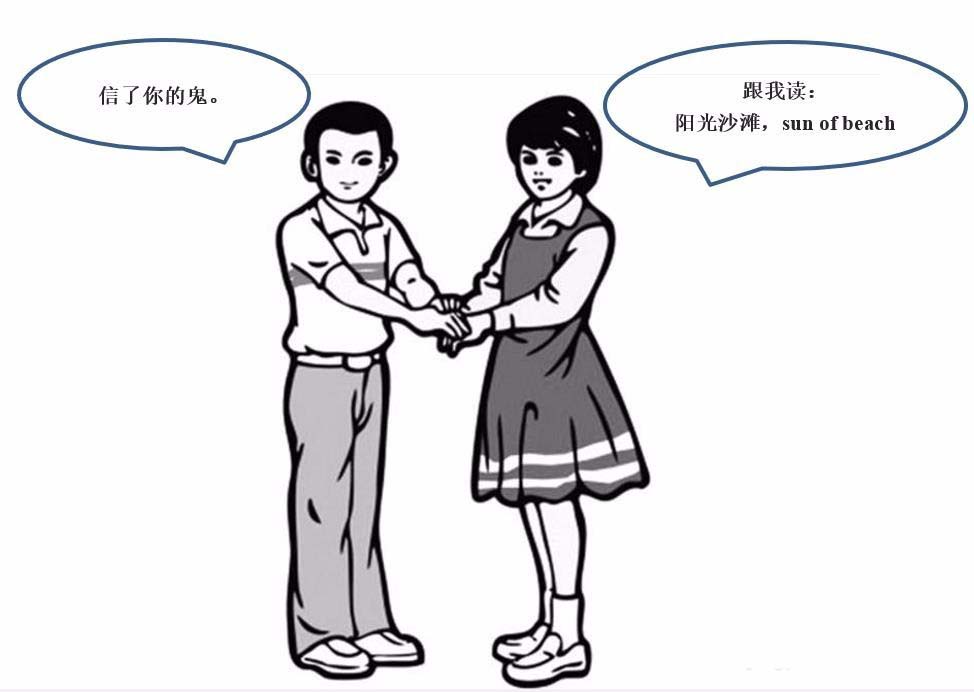
5、然后我们可以自行设置填充等属性,这样的话对话气泡方向就和人物面向所契合啦。
各位小伙伴们,看完上面的精彩内容,都清楚word旋转对话气泡方向的基础操作了吧!
本文由cwhello于2024-10-10发表在打字教程,如有疑问,请联系我们。
本文链接:https://www.dzxmzl.com/5553.html
本文链接:https://www.dzxmzl.com/5553.html