教你photoshop制作帆布纹理的操作流程。


熟悉photoshop软件是很简单的,但是大家知道制作帆布纹理的相关操作吗?今天打字教程网小编就分享photoshop制作帆布纹理的操作方法,一起来看看吧! ph...
熟悉photoshop软件是很简单的,但是大家知道制作帆布纹理的相关操作吗?今天打字教程网小编就分享photoshop制作帆布纹理的操作方法,一起来看看吧!
photoshop制作帆布纹理的操作流程
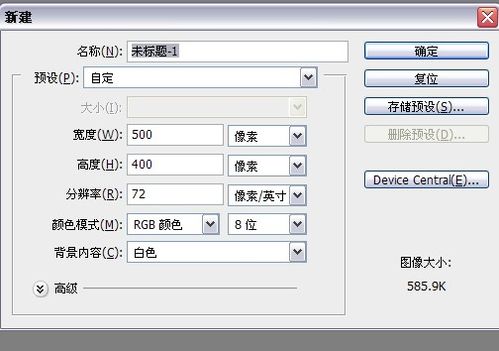
打开ps,新建一个文档,大小自己定,我设置的是500*400.
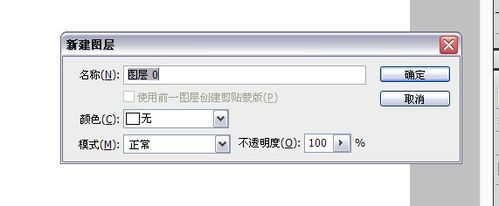
双击解锁图层。
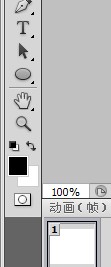
按一下D,把前景色和背景色设置成默认值。即黑色和白色。
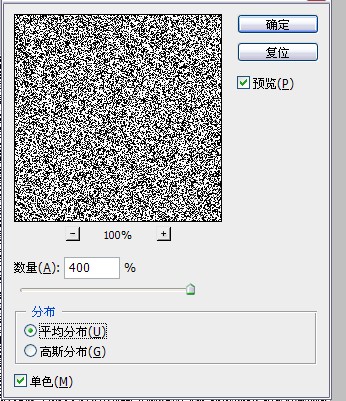
滤镜——杂色——添加杂色,分布为平均分布,勾选单色,数量为400.
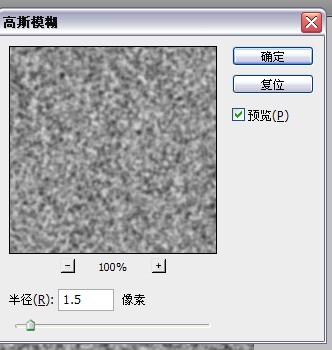
为了制造一点不光滑的感觉,选择滤镜——模糊——高斯模糊,半径为1.5,根据自己的图片大小来设定,大一点就设置半径大一点,小的话就设置得小一点。
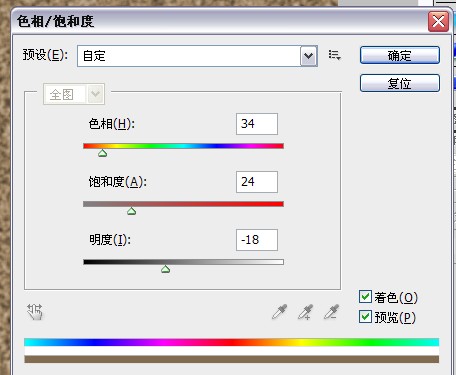
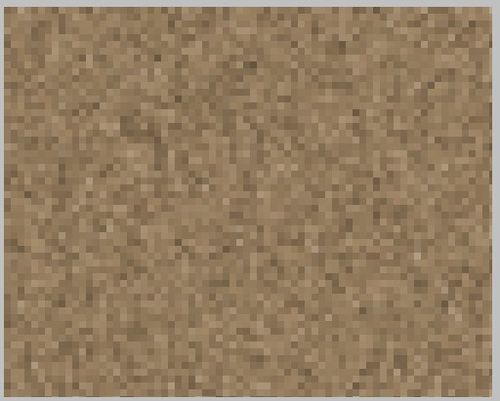
图像——调整——色相/饱和度,参数设置按我的图片来。
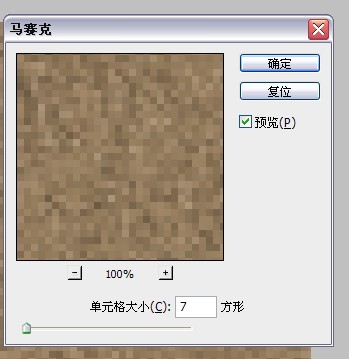
滤镜——像素化——马赛克。单元格大小为7.
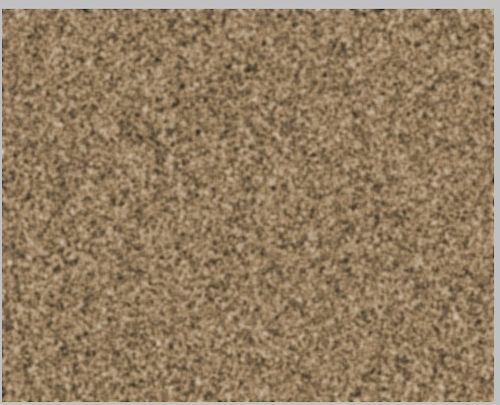
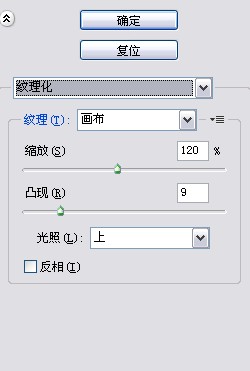
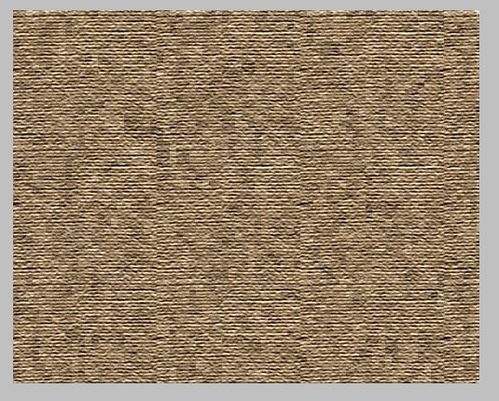
滤镜——纹理——纹理化,数值按我的来哦,不然没有效果。
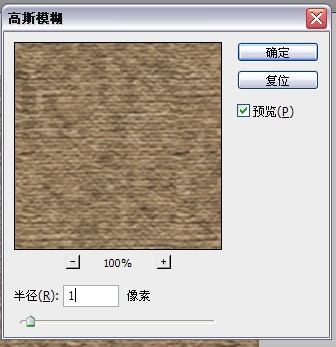
我们看到图片效果已经出来了,但是感觉太突兀了,所以模糊一下吧。滤镜——模糊——高斯模糊。半径大小设置为1.
这就是最后效果了。布的效果还是有的,哈哈!

上文就讲解了photoshop制作帆布纹理的操作流程,希望有需要的朋友都来学习哦。
本文由cwhello于2024-10-10发表在打字教程,如有疑问,请联系我们。
本文链接:https://www.dzxmzl.com/5396.html
本文链接:https://www.dzxmzl.com/5396.html