我来分享photoshop添加滤镜的操作流程。

photoshop这款应用是非常受网友关注的,而本章节就介绍了photoshop添加滤镜的操作流程,还不了解的朋友就跟着打字教程网小编学习一下吧,希望对你们有所帮助。...
photoshop这款应用是非常受网友关注的,而本章节就介绍了photoshop添加滤镜的操作流程,还不了解的朋友就跟着打字教程网小编学习一下吧,希望对你们有所帮助。
photoshop添加滤镜的操作流程
首先,现在网上下载一个滤镜,滤镜的格式一般是8bf格式。有的网站把滤镜进行了压缩。下载下来之后解压得到如下图所示文件。
找到photoshop的安装路径。右键点击photoshop图标。点击属性。
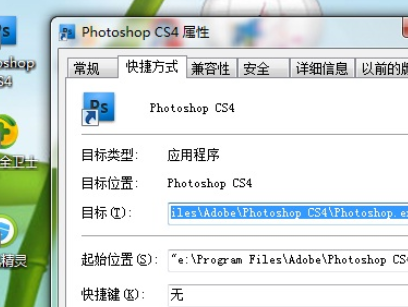
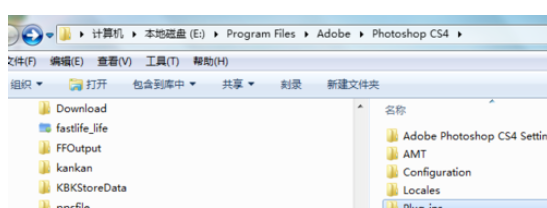
点击打开文件位置,出现了photoshop的安装路径。会看到有一个叫Plug-ins的文件夹。
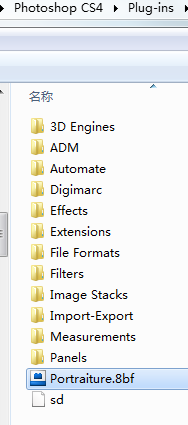
打开Plug-ins文件夹,把刚从网上下载的滤镜文件,放到该文件夹。
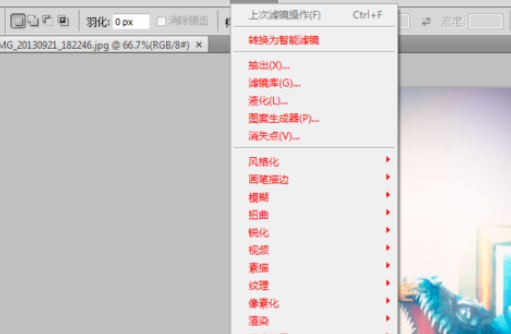
启动photoshop,点击滤镜。imageomic就会看到该滤镜了。
学完本文photoshop添加滤镜的操作流程,是不是觉得以后操作起来会更容易一点呢?
本文由cwhello于2024-10-10发表在打字教程,如有疑问,请联系我们。
本文链接:https://www.dzxmzl.com/5306.html
本文链接:https://www.dzxmzl.com/5306.html