分享光影魔术手给图片加箭头的图文操作。

不少朋友都喜欢使用光影魔术手软件,那么大家清楚给图片加箭头的相关操作吗?若还不了解,就来学习给图片加箭头的图文操作教程吧! 光影魔术手给图片加箭头的图文操作...
不少朋友都喜欢使用光影魔术手软件,那么大家清楚给图片加箭头的相关操作吗?若还不了解,就来学习给图片加箭头的图文操作教程吧!
光影魔术手给图片加箭头的图文操作
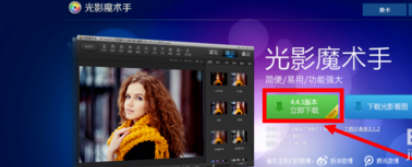
首先,没有安装光影魔术手的就去下载,找到光影魔术手的官网,点击下载
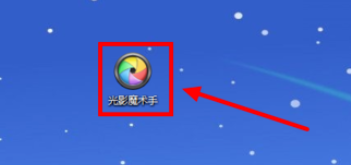
安装好之后,在桌面上点击打开
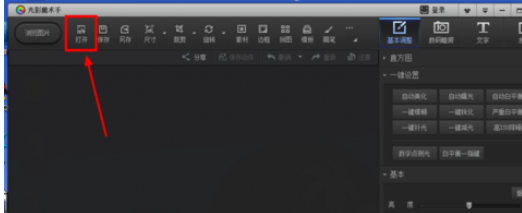
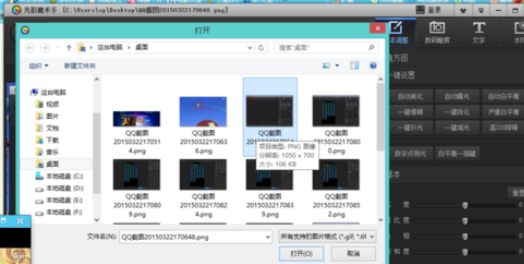
打开软件之后,点击“打开”,找到你需要的图片的路径,点击打开
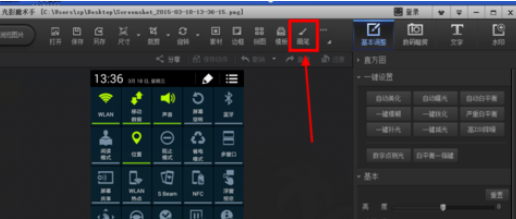
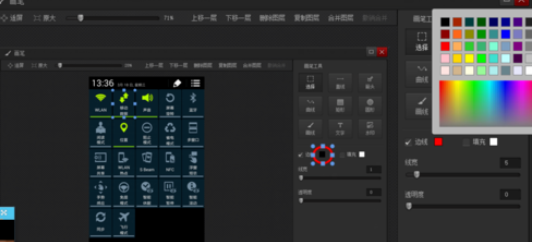
在右上方找到“画笔”,点击
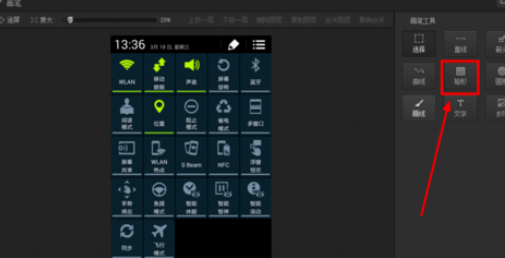
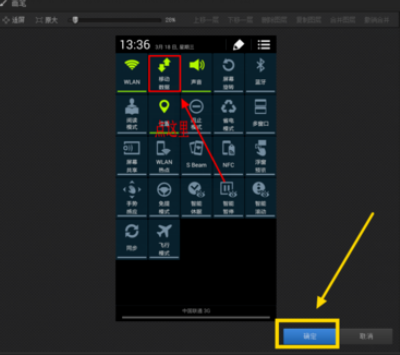
右边有一些画笔工具,在这里我们使用的是“矩形”,点击矩形,然后在需要的地方画一个方形
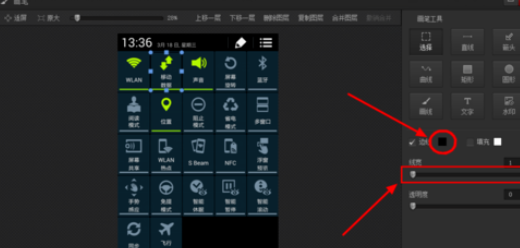
下面做细节调整,在方形的边缘可以调整大小和位置,右边还可以调整边线的颜色和粗细
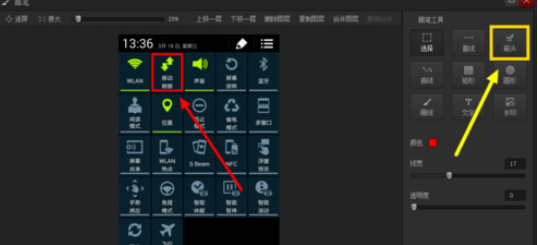
同样的方法可以添加箭头,调整箭头的方向,倾斜度,颜色和粗细等等
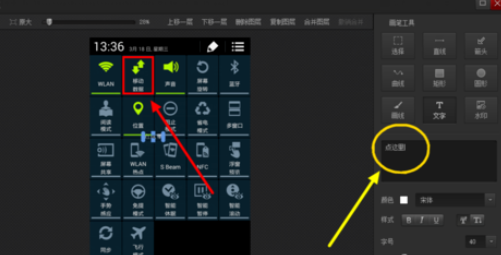
同样还可以添加文字,这样能表达更清楚直接,右侧的方框中输入需要的文字,在左侧找到输入的文字,扩大或者移动到需要的位置,一样的方法更换文字的颜色等等

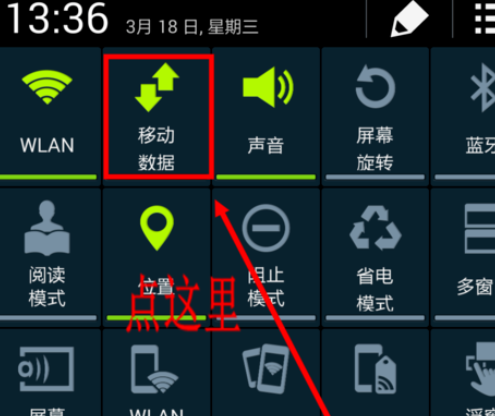
这样一幅配有批注的图片就完成了
最后,一定要点击“确定”,回到主界面
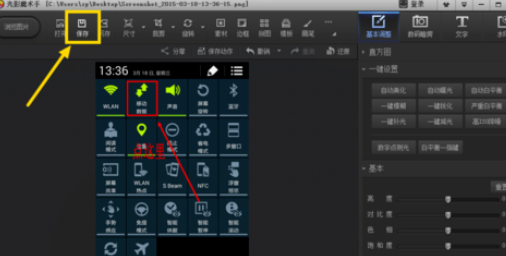
在主界面的左上角点击“保存”,可以选择覆盖原图片,还能选择另存为其他的图片
上文就讲解了光影魔术手给图片加箭头的图文操作,希望有需要的朋友都来学习哦。
本文由cwhello于2024-10-10发表在打字教程,如有疑问,请联系我们。
本文链接:https://www.dzxmzl.com/5032.html
本文链接:https://www.dzxmzl.com/5032.html