分享gimp进行抠图的简单操作。

有的用户还不会使用gimp来抠图的操作,而下文打字教程网小编就分享gimp进行抠图的操作步骤,希望对你们有所帮助哦。 gimp进行抠图的简单操作 gim...
有的用户还不会使用gimp来抠图的操作,而下文打字教程网小编就分享gimp进行抠图的操作步骤,希望对你们有所帮助哦。
gimp进行抠图的简单操作
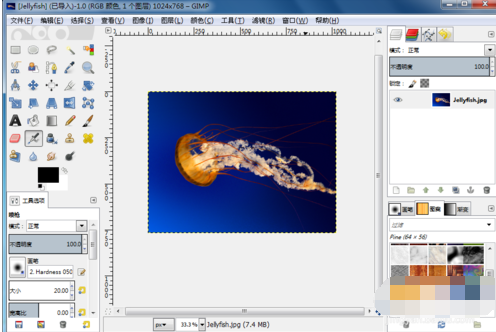
gimp打开一张图片。
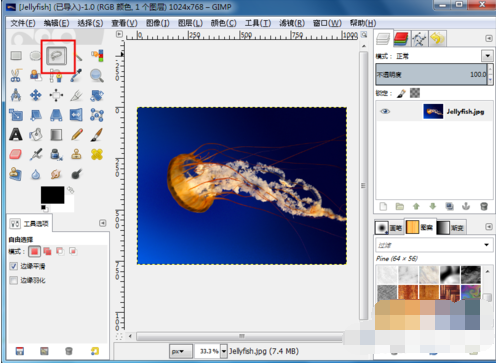
选区左边工具箱中的“自由选取工具”。
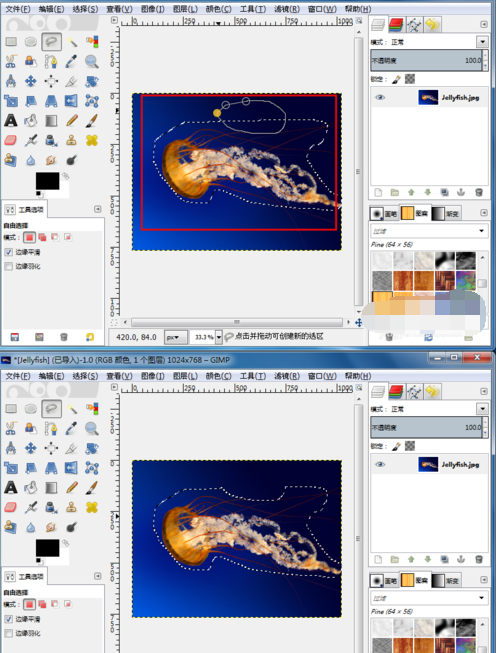
在图片上圈选需要抠取得区域。

大概选取后,可以按ctrl圈选不需要的区域shift增加区域修复选区,最后得到自己需要的精确选区。
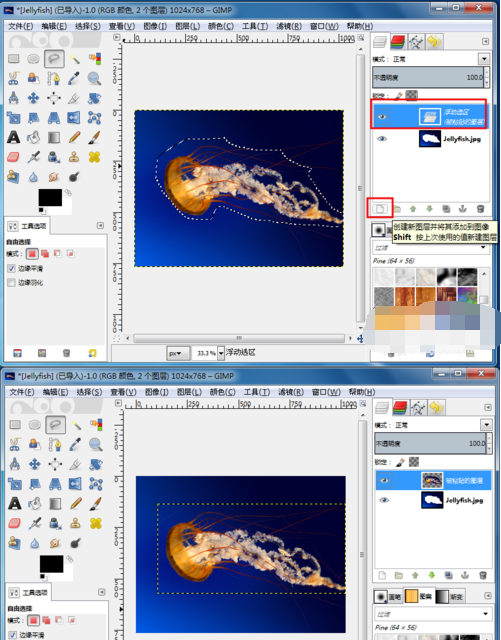
选取后,我们可以ctrl+x截取选区,接着ctrl+v进行粘贴,右边图层会多出一个浮动选区。

选择浮动选区,然后点击下面的“创建新图层...”,这样浮动选区就会变成图层了。
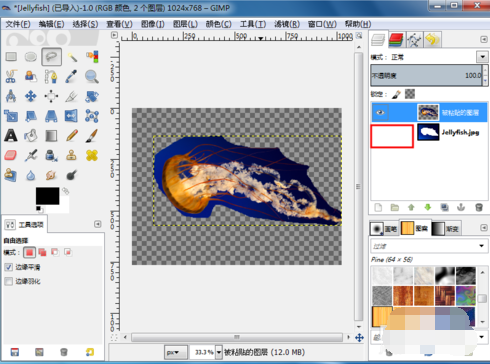
点击底部图层的小眼睛,不显示它,这样我们的抠的图片就显示出来了,现在可以文件导出为图片就可以了。
各位小伙伴们,看完上面的精彩内容,都清楚gimp进行抠图的简单操作了吧!
本文由cwhello于2024-10-10发表在打字教程,如有疑问,请联系我们。
本文链接:https://www.dzxmzl.com/4804.html
本文链接:https://www.dzxmzl.com/4804.html