我来教你upupoo的详细使用操作介绍。


很多朋友都还不熟悉upupoo这款应用,而下面打字教程网小编就讲解upupoo的详细使用操作,希望对你们有所帮助哦。 upupoo的详细使用操作介绍 1...
很多朋友都还不熟悉upupoo这款应用,而下面打字教程网小编就讲解upupoo的详细使用操作,希望对你们有所帮助哦。
upupoo的详细使用操作介绍
1、首先我们要将想要制作成壁纸的视频剪辑好,剪辑完毕后打开upupoo动态壁纸软件;
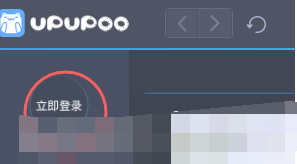
2、打开upupoo后在其界面左上角点击“立即登录”按钮登录upupoo账号,当然也可以使用QQ等第三方平台登录。不登录的话是没有办法使用自己制作的壁纸的;
3、登录完毕后打开“下载的壁纸”,在该界面的下图位置双击鼠标左键,接着在弹出的窗口中将我们剪辑好的视频添加进来:

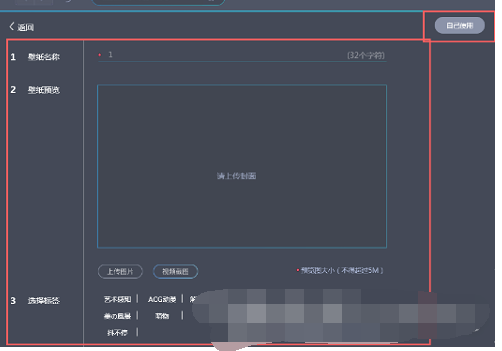
4、接着给视频壁纸起一个名字,上传一个封面或者预览图,再选择一下标签,最后点击“自己使用”就可以了;
5、点击“自己使用”后在“下载的壁纸”就可以看到我们刚才制作的视频壁纸了,双击它即可使用。
上文就讲解了upupoo的详细使用操作介绍,希望有需要的朋友都来学习哦。
本文由cwhello于2024-10-09发表在打字教程,如有疑问,请联系我们。
本文链接:https://www.dzxmzl.com/1739.html
本文链接:https://www.dzxmzl.com/1739.html