教你PS做出透明图片的操作流程。


想必很多用户还不知道PS做出透明图片的操作流程,那么PS究竟是如何做出透明图片的呢?下面一起来看看PS做出透明图片的操作方法吧 PS做出透明图片的操作流程...
想必很多用户还不知道PS做出透明图片的操作流程,那么PS究竟是如何做出透明图片的呢?下面一起来看看PS做出透明图片的操作方法吧
PS做出透明图片的操作流程
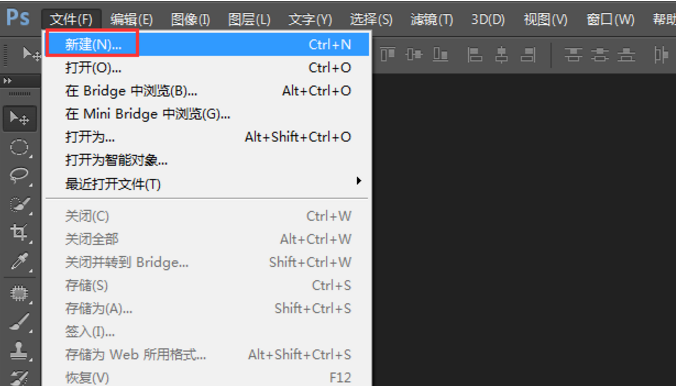
1、打开PS软件,点击“文件-新建”,如图。
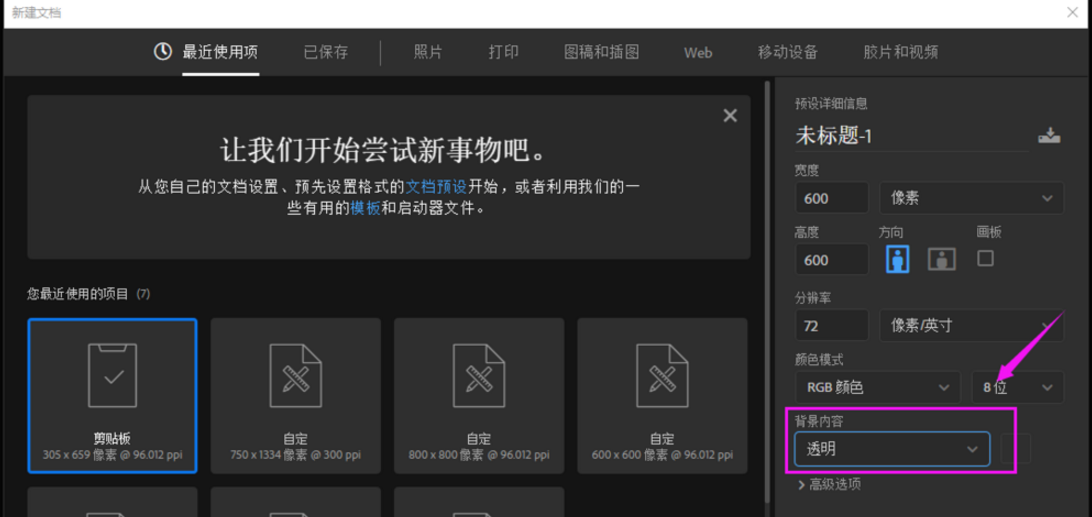
2、我们新建时要注意,将背景设置为透明,如图。
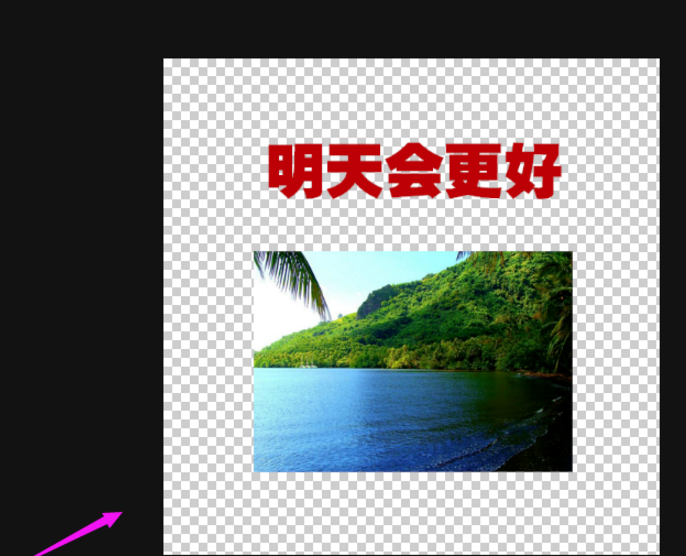
3、随意往里面放置我们需要的东西,打字教程网小编就以文字为例,选择文本工具,输入文字,如图。

4、当然了,你也可以放置其他东西,只要是放在设置好的透明背景文件里,打字教程网小编以图片为例,如图。
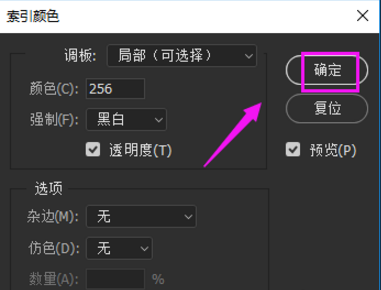
5、我们选择菜单栏的“文件-储存为”,文件保存类型选择“.gif”格式的,进行确认,如图。
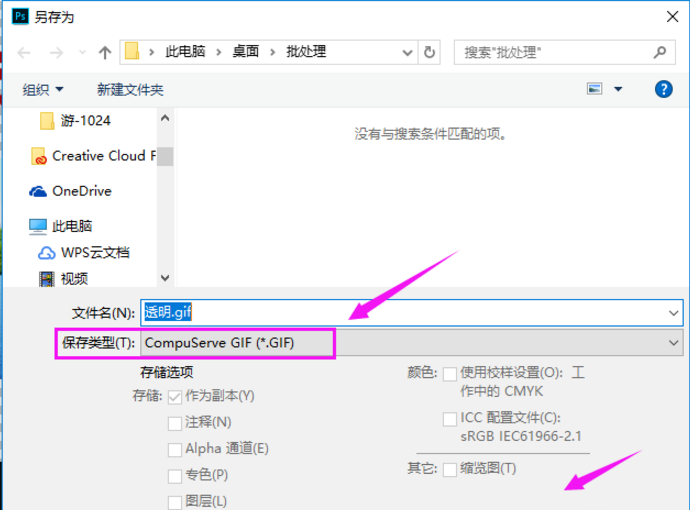
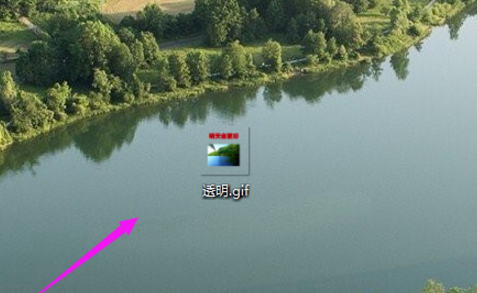
6、透明图片就制作好了,存储透明字体也是这样制作的哦。
快来学习学习PS做出透明图片的操作流程吧,一定会帮到大家的。
本文由cwhello于2024-10-09发表在打字教程,如有疑问,请联系我们。
本文链接:https://www.dzxmzl.com/1694.html
本文链接:https://www.dzxmzl.com/1694.html